

Hey!
Today I wanted to talk about something I do pretty much every year with my mum- custom flower pots. While my mum probably could afford to purchase pre-made planters and pots of flowers, she makes her own each year and says that the best way to save money on having a nice yard is to take the time to learn how to do it yourself. The type-A’s amoungst us will also appreciate that these are 100% customizable to your own color and varietal preference. So lets get started!
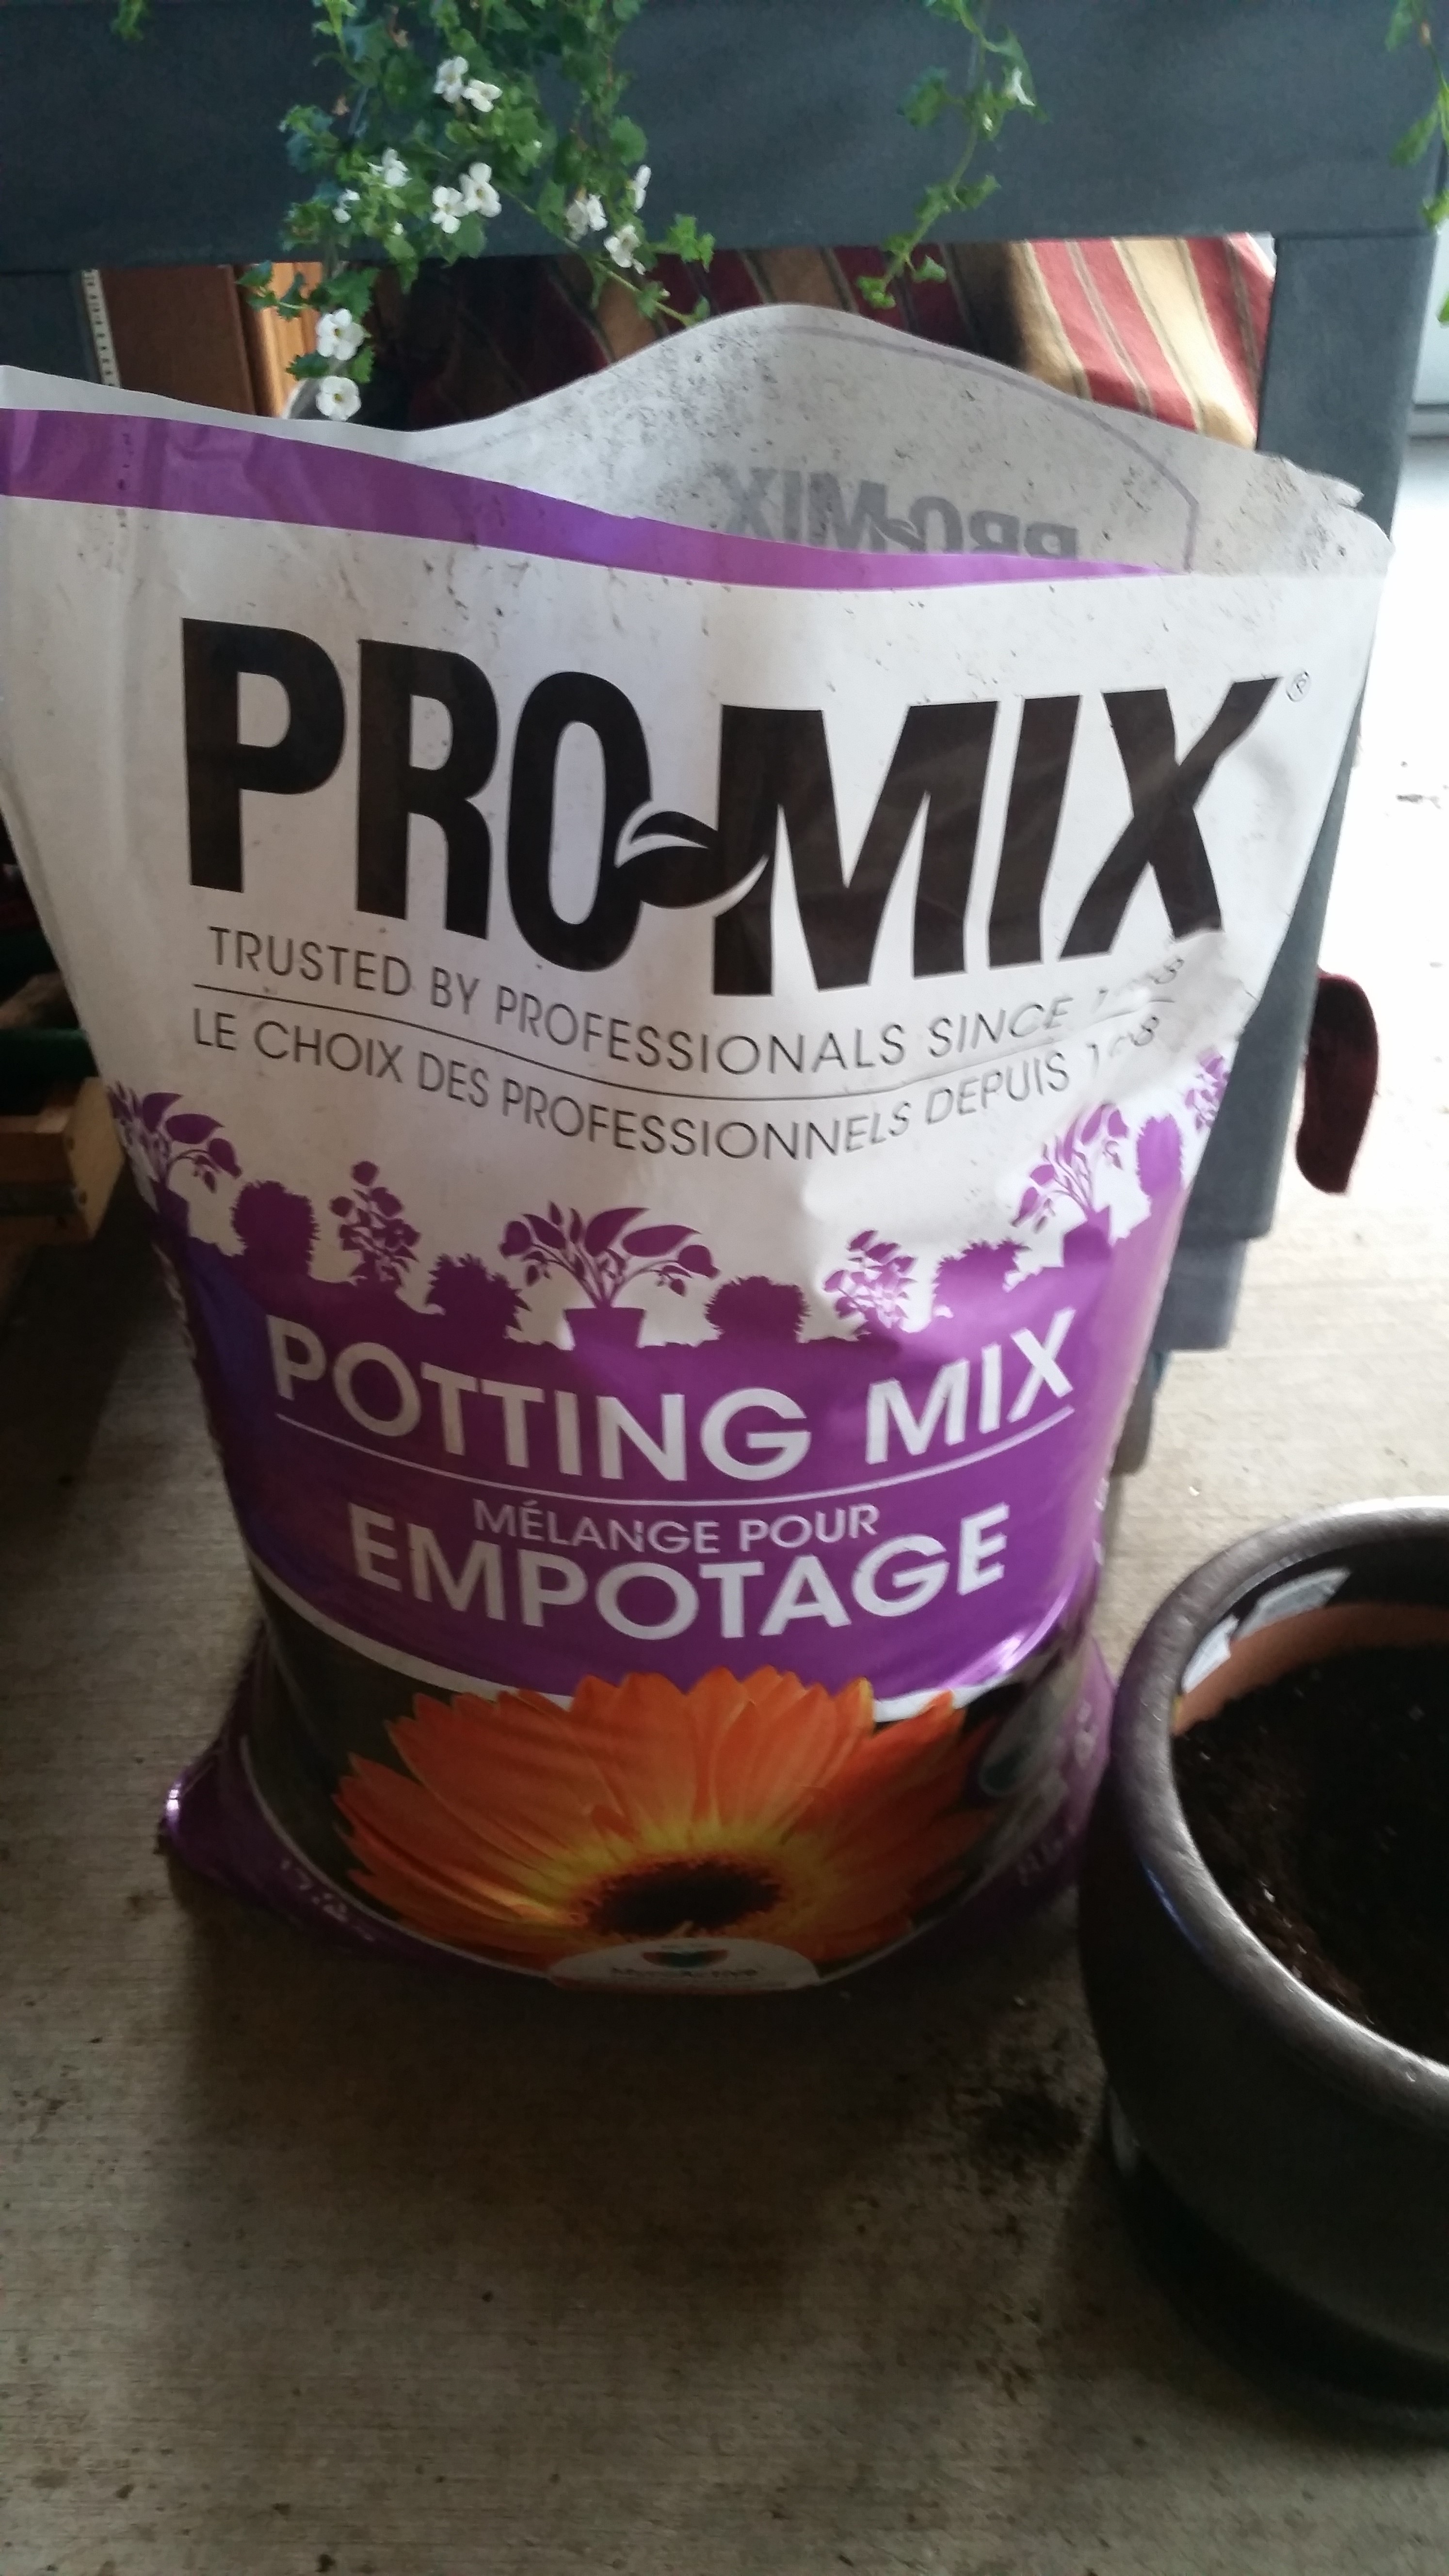
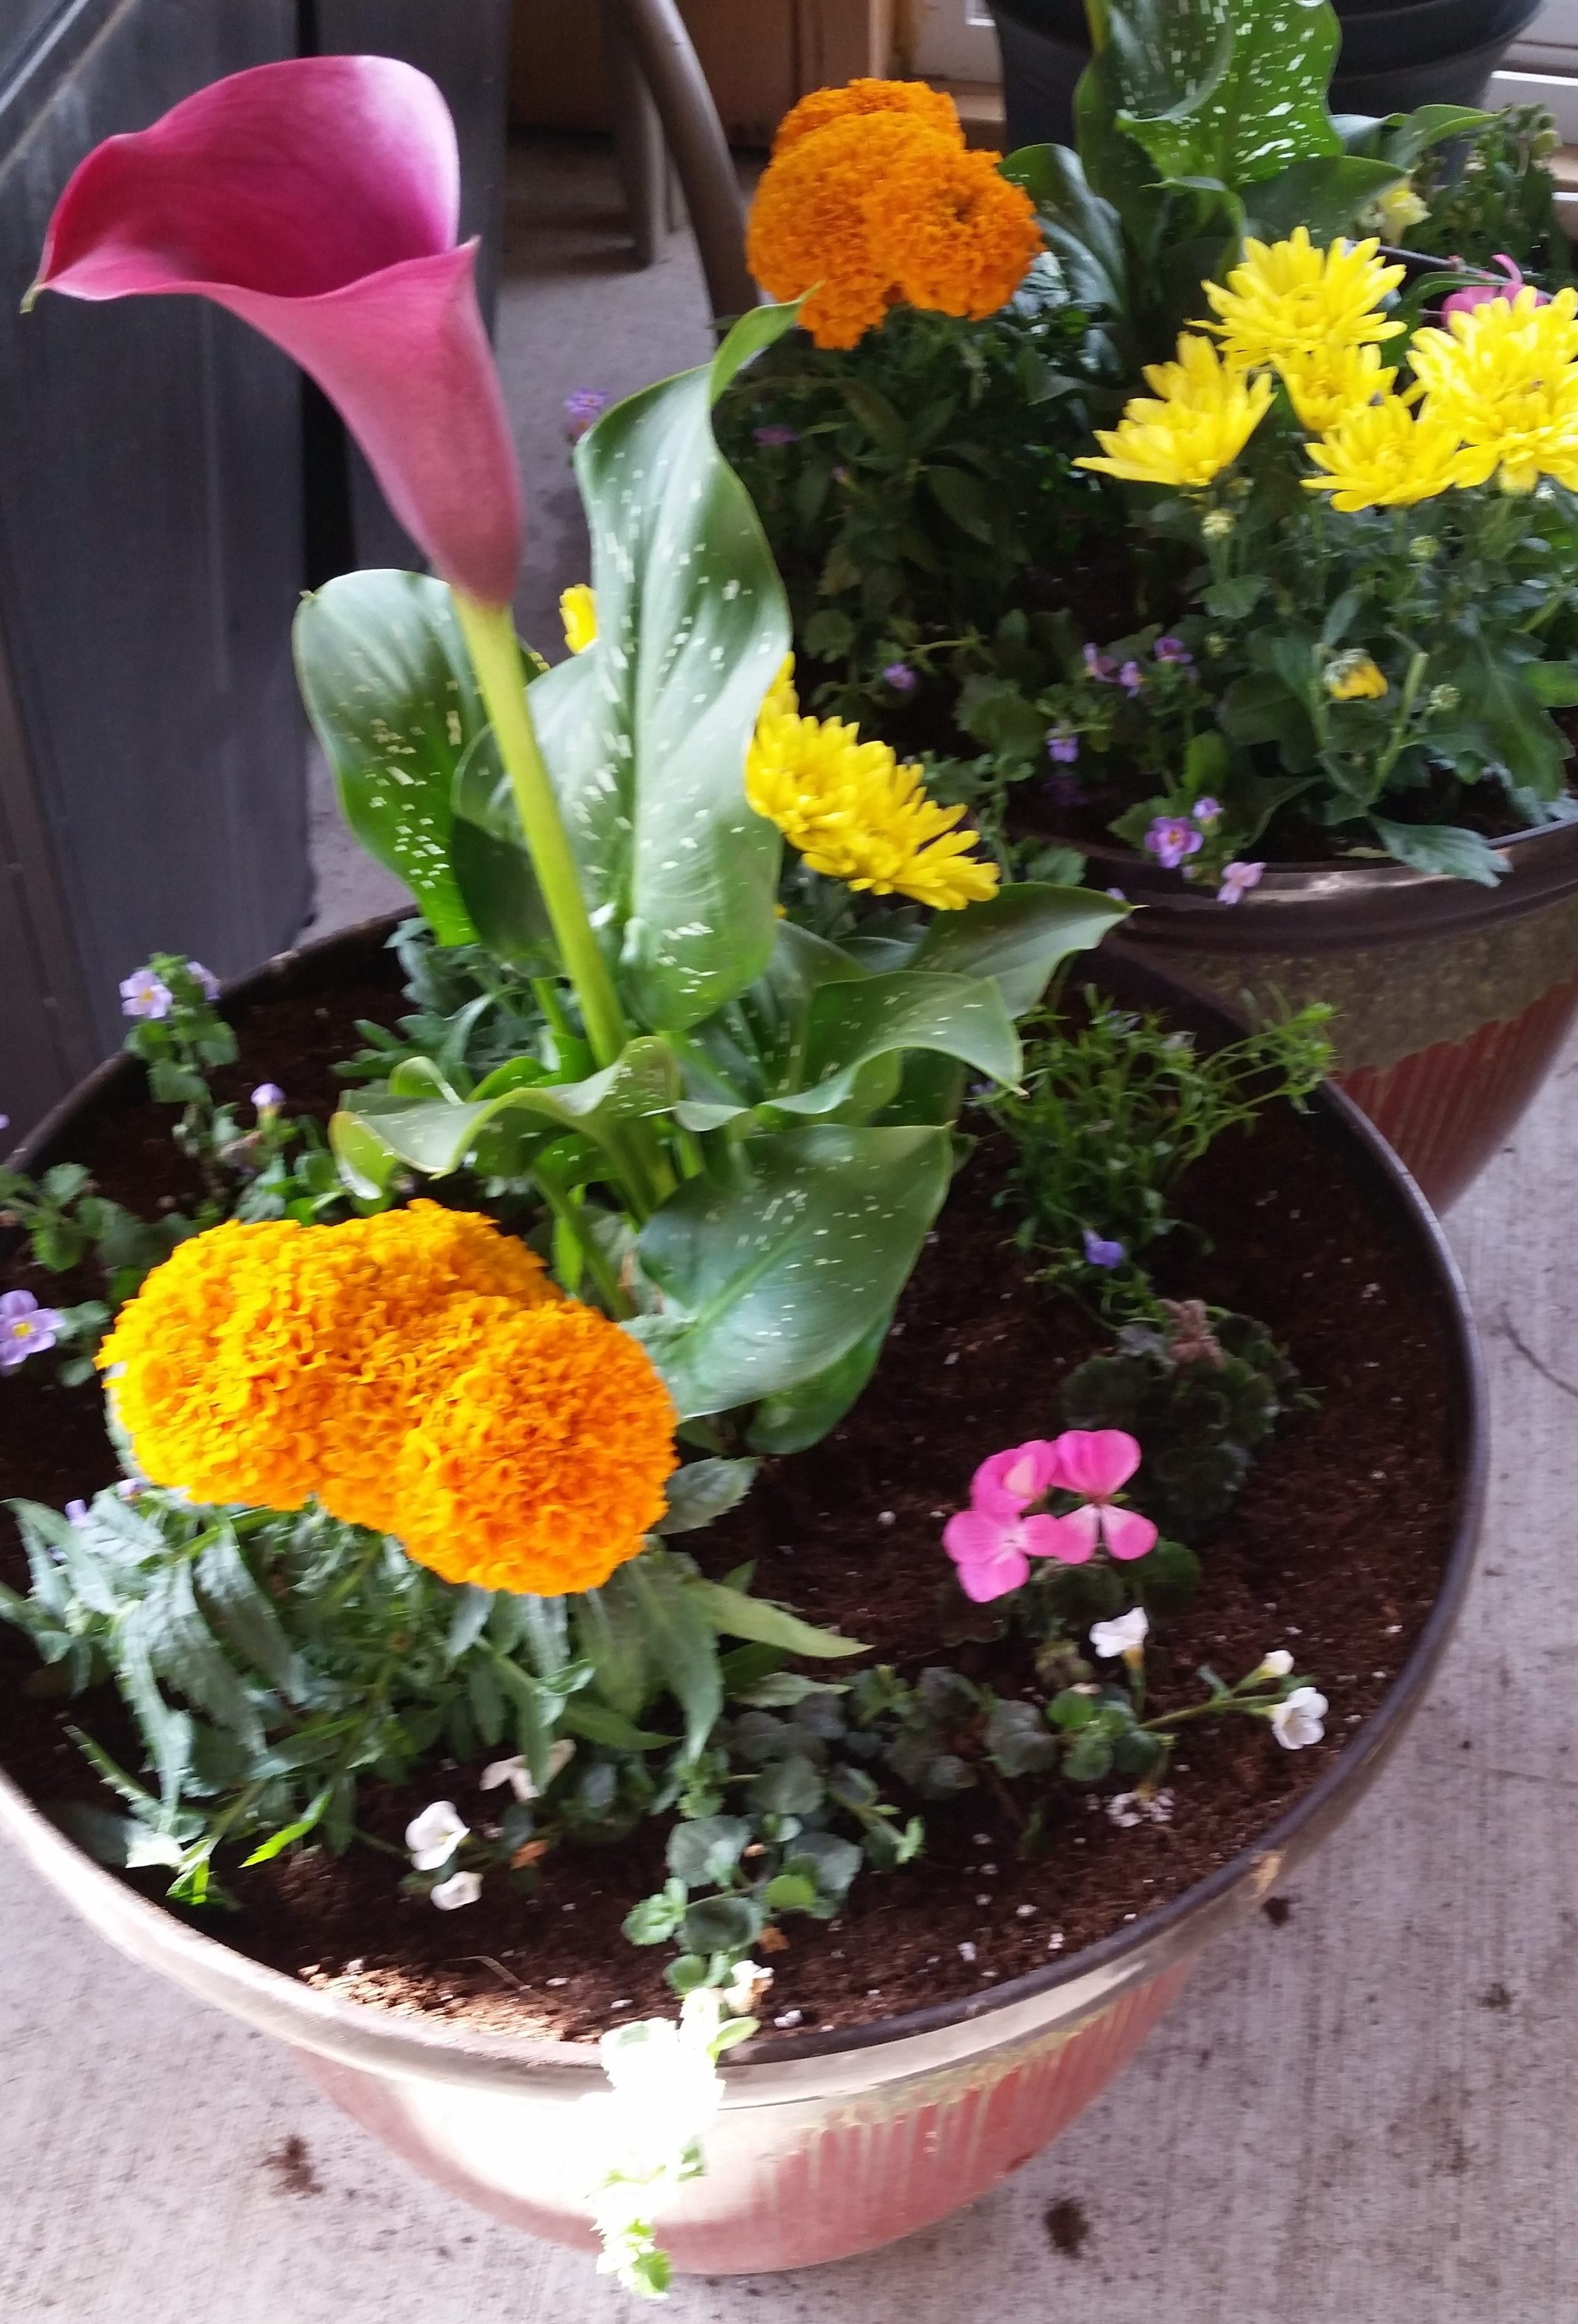
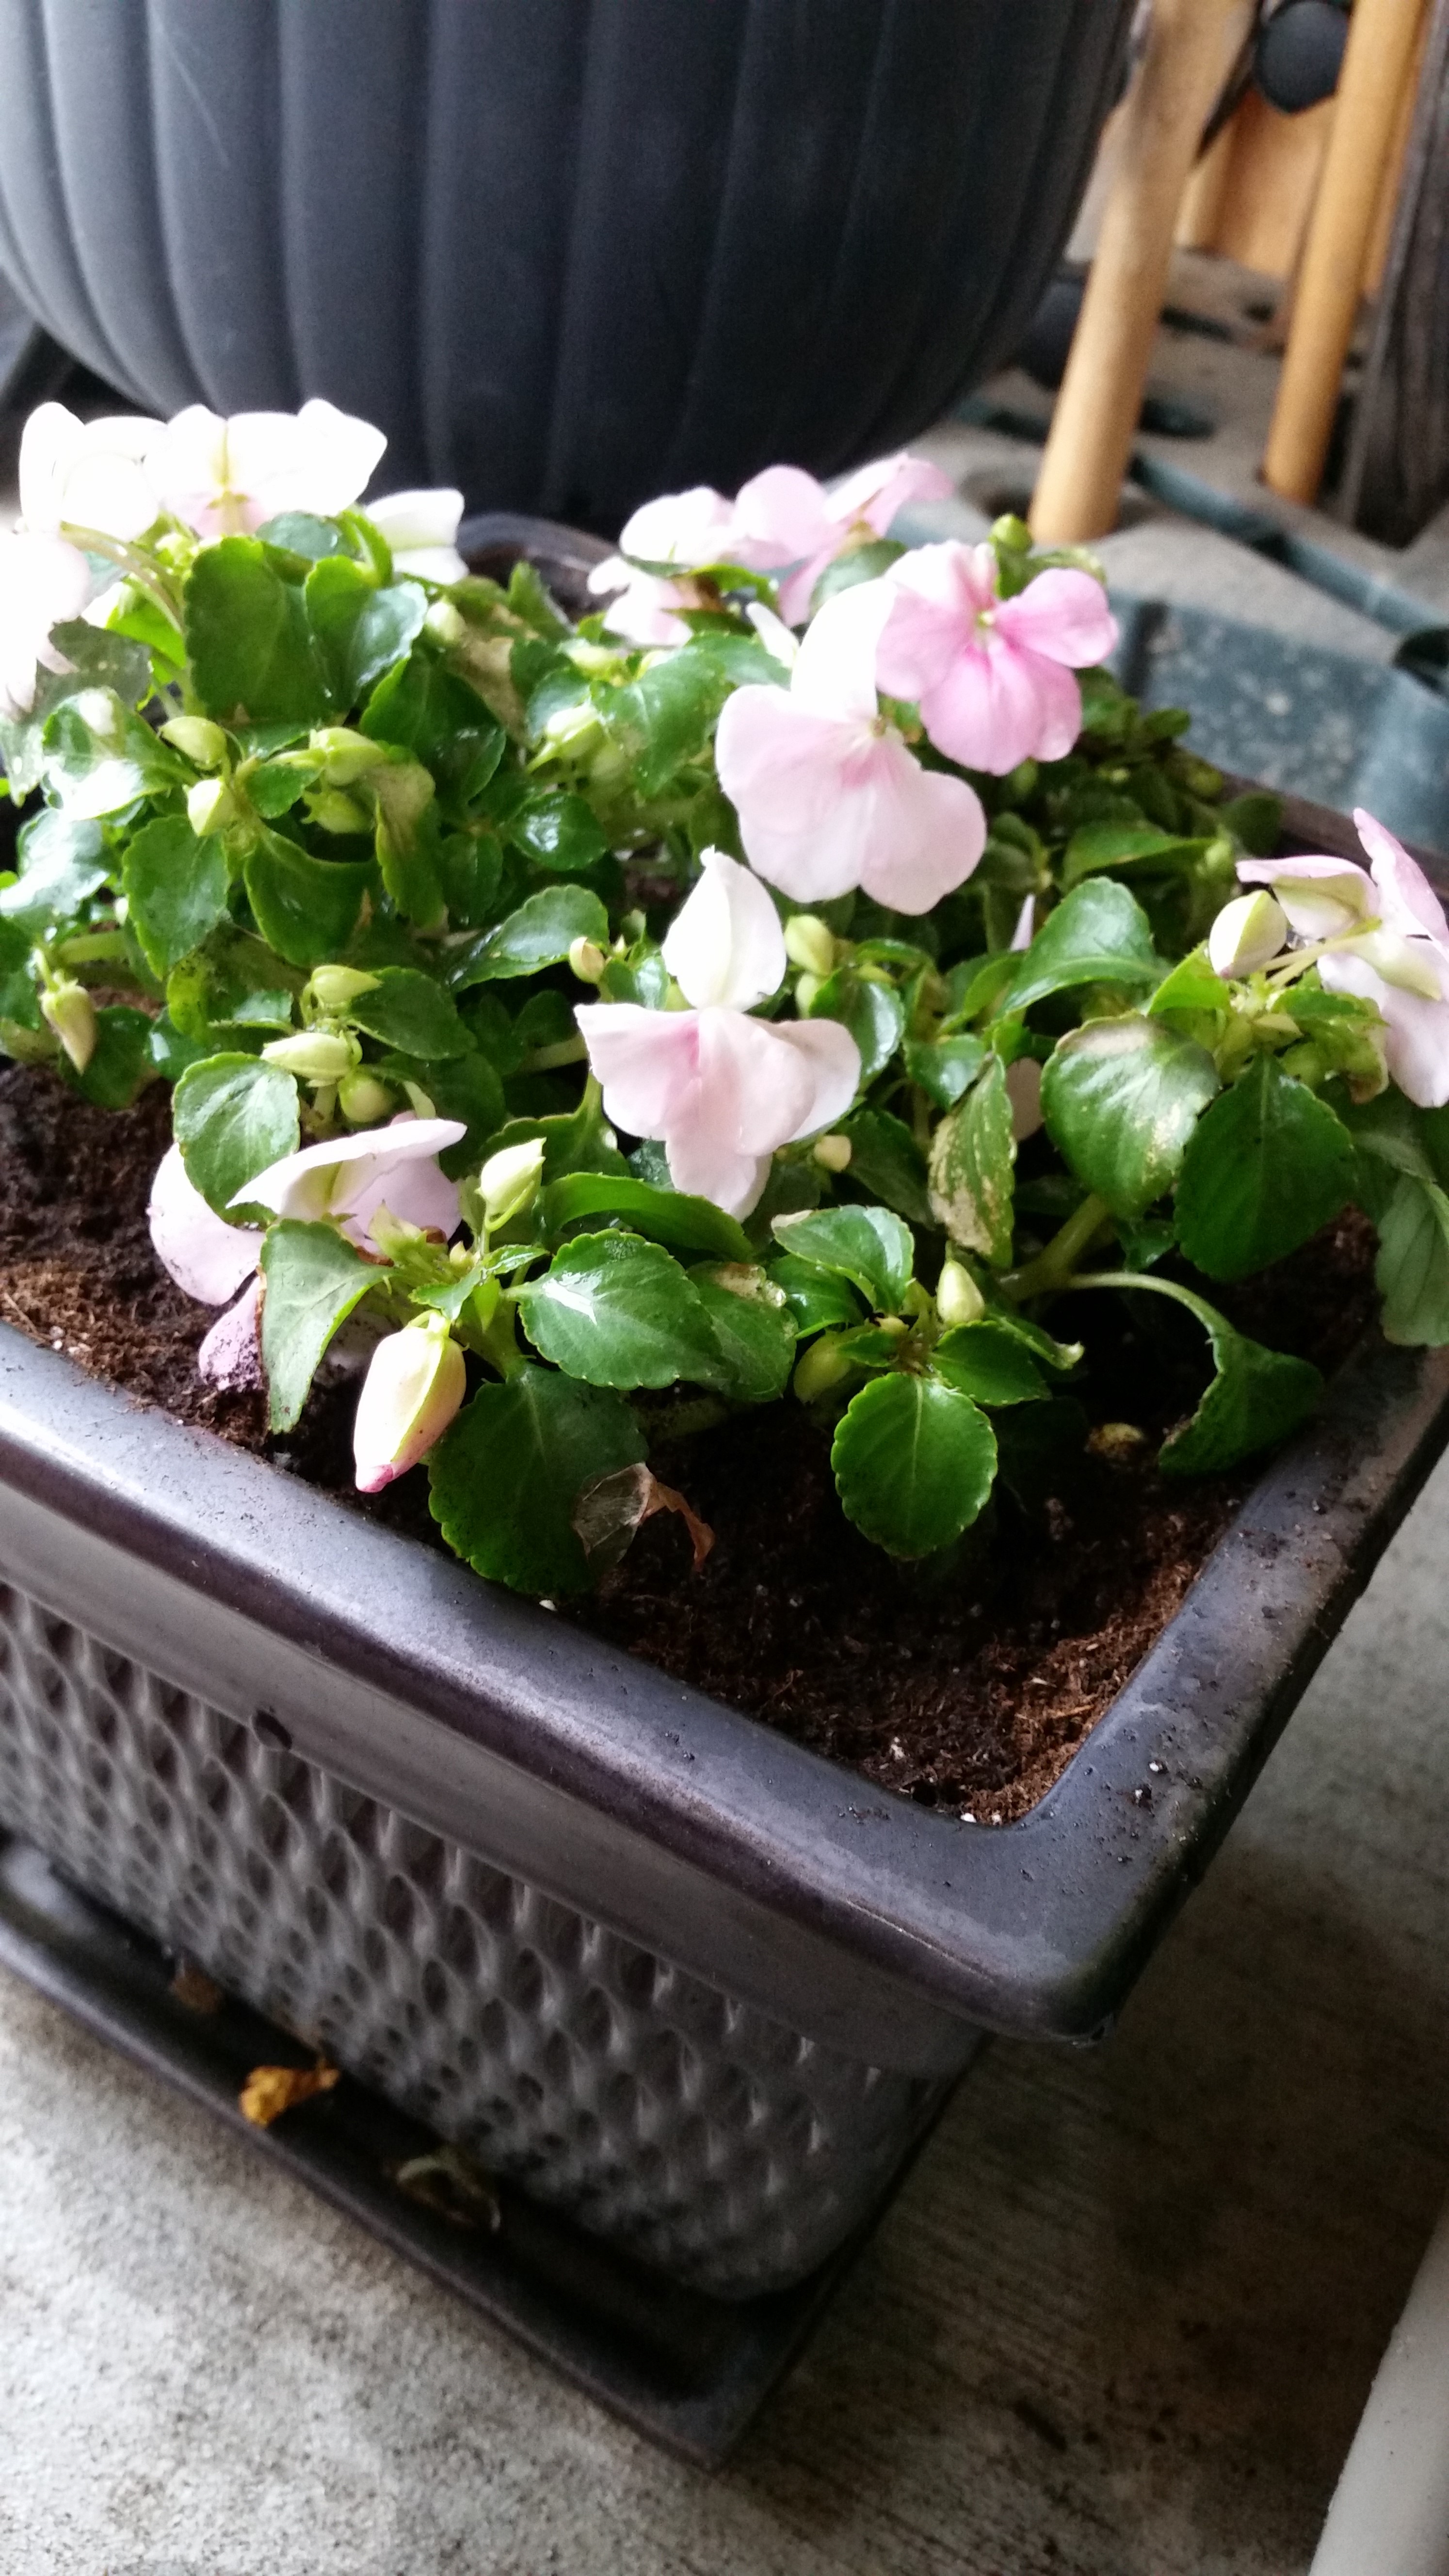
When you’re within a day or two of having time to plant, get to the local greenhouse or big box store and start looking at plants. As you are looking, keep in mind where you’re wanting to put these plants- if they’re going in a shady area, find some that are shade lovers by reading the tags inserted in the pots. Also consider the physical height and sprawl of your plants- if you have a tall center plant, consider surrounding it with some medium height plants as well as some trailing plants for the most visual interest. Once you’ve picked out your plants, grab some potting soil and you’re good to head home!
Your first step is to find a container that is the appropriate size for what you’d like to put in it, and fill it with potting soil. If you have a truly enormous pot because you’re wanting to create visual height, filling the entire pot with soil isn’t necessary. Fill the bottom half of the pot with empty water bottles (caps on, uncrushed) and/or a smaller pot turned upside down, then lay down a layer of newsprint (about 3 pages thick). Pour your dirt on top of that and you’ll have a much lighter pot, and you won’t waste dirt. As you fill your pots, no matter what you want to lightly press down your dirt. If you don’t, once you water the plants the dirt will settle and your plants will be too far down in the pot.
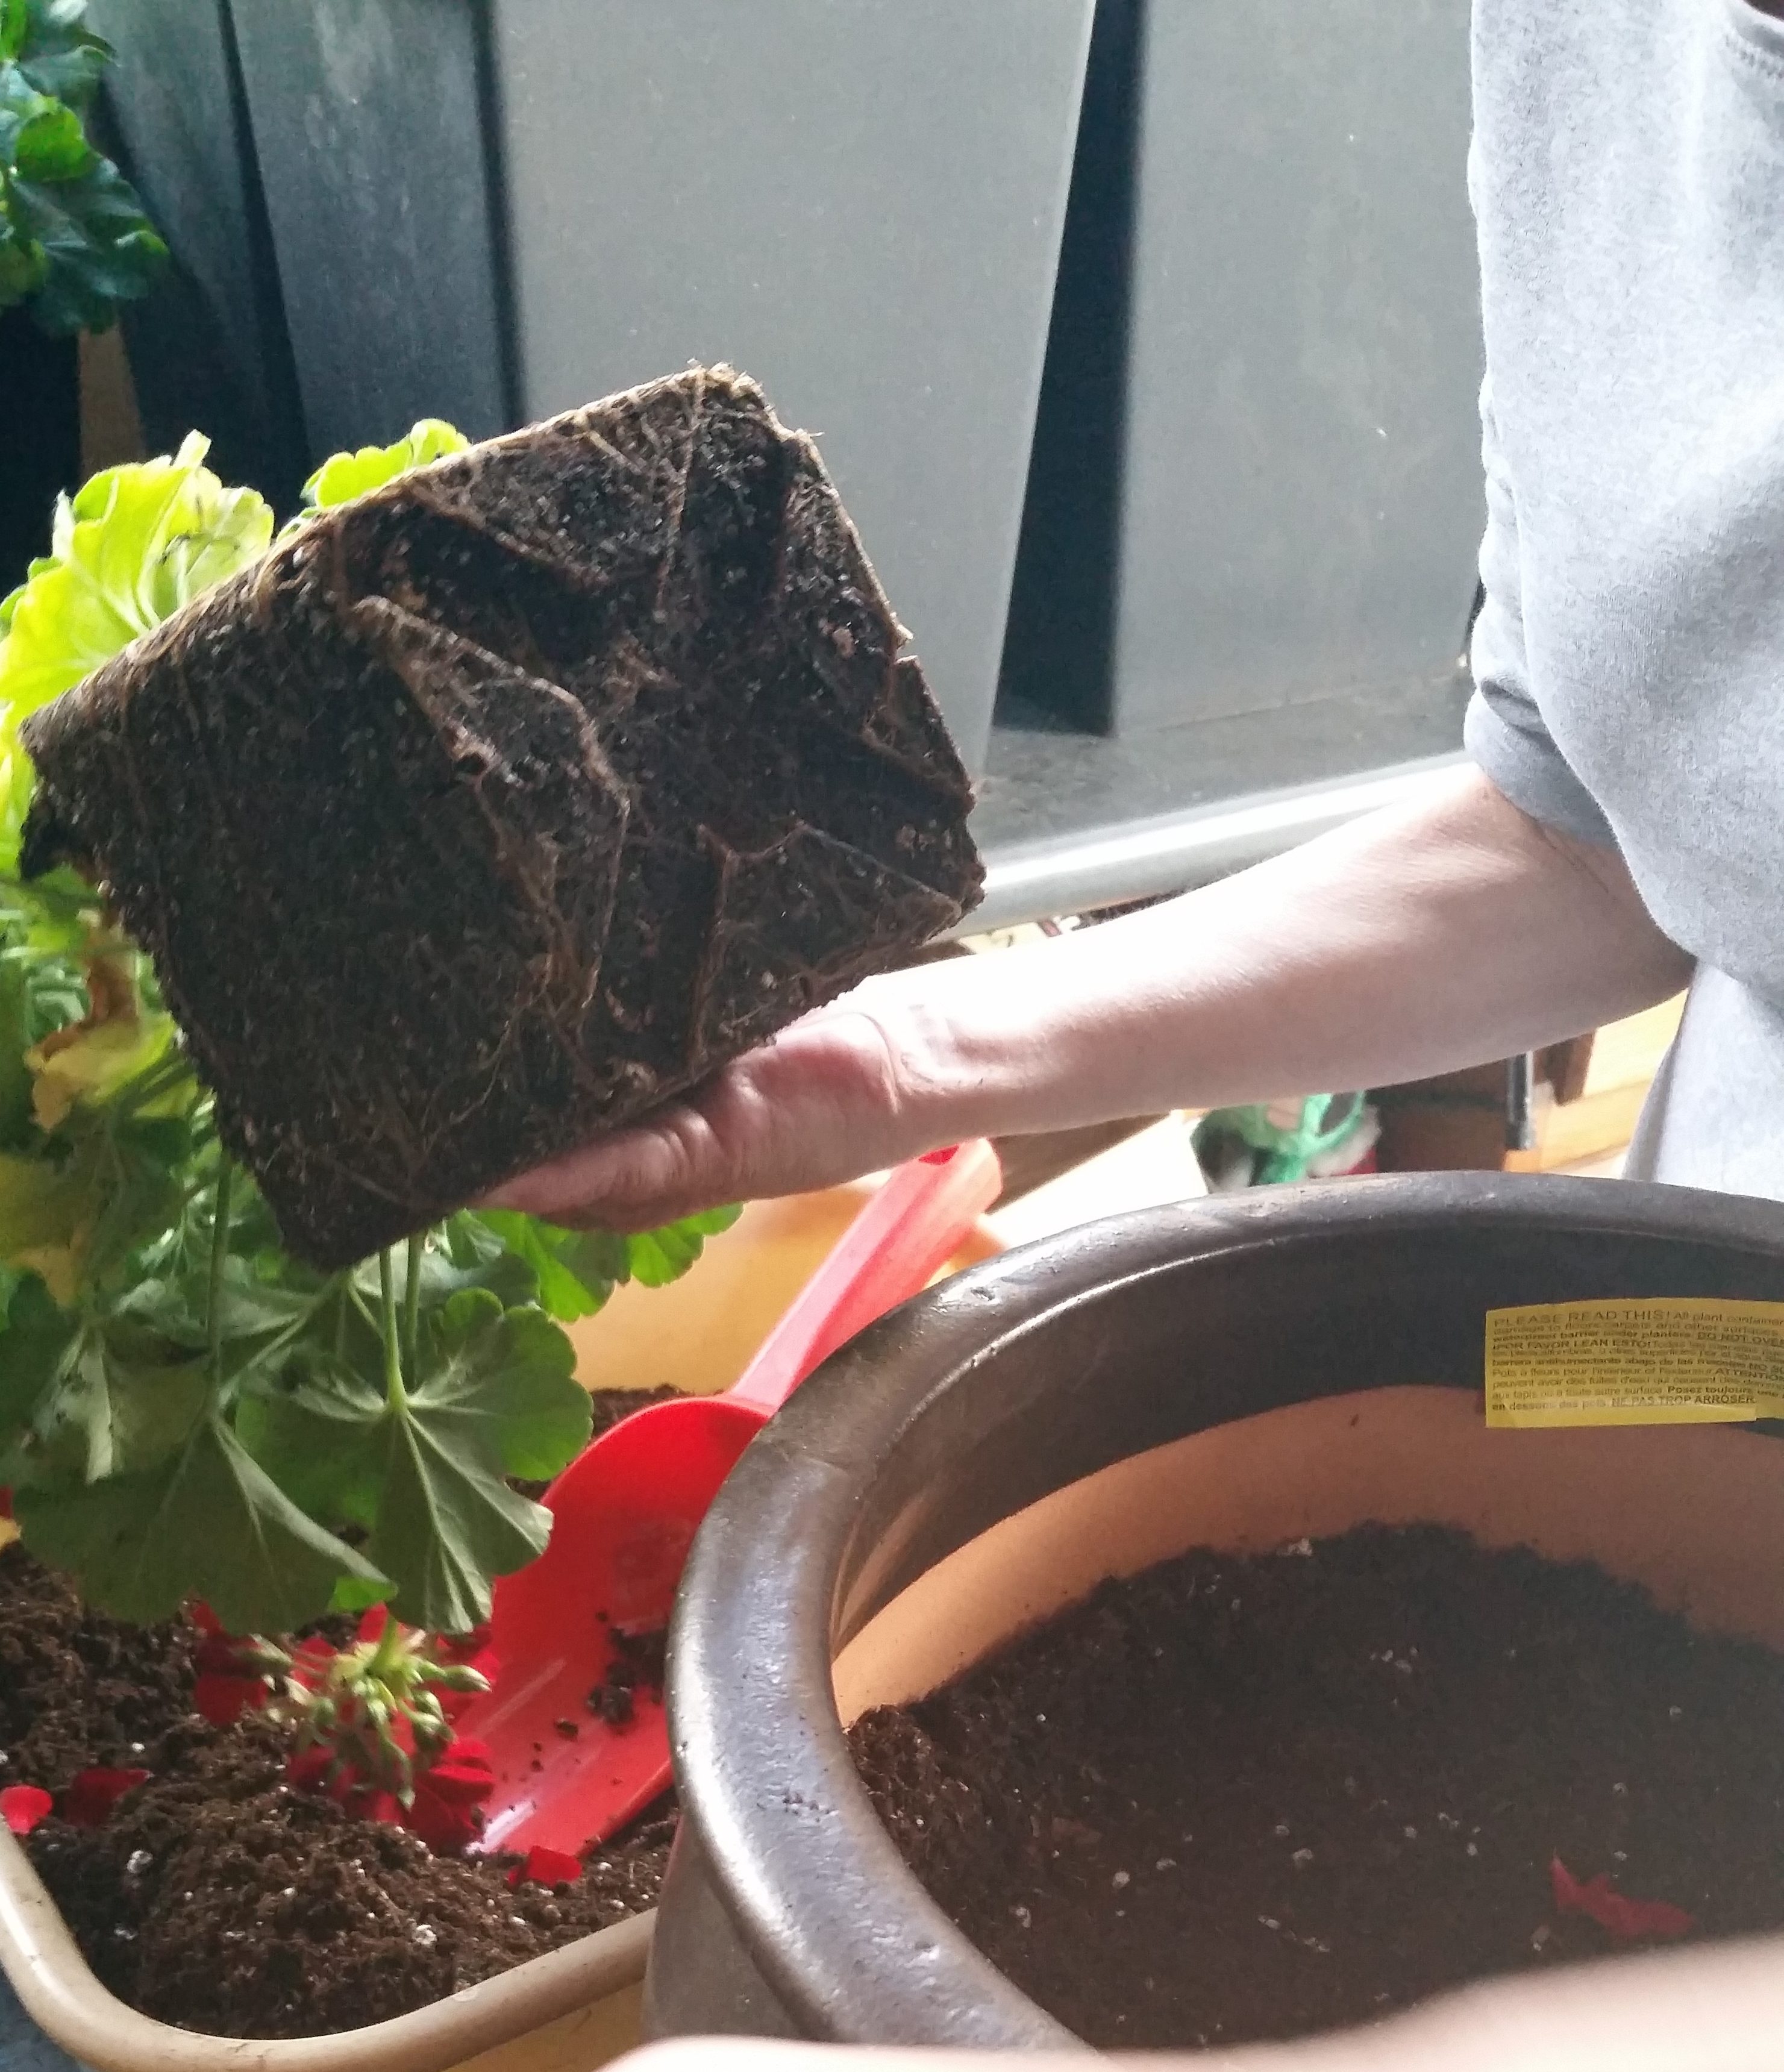
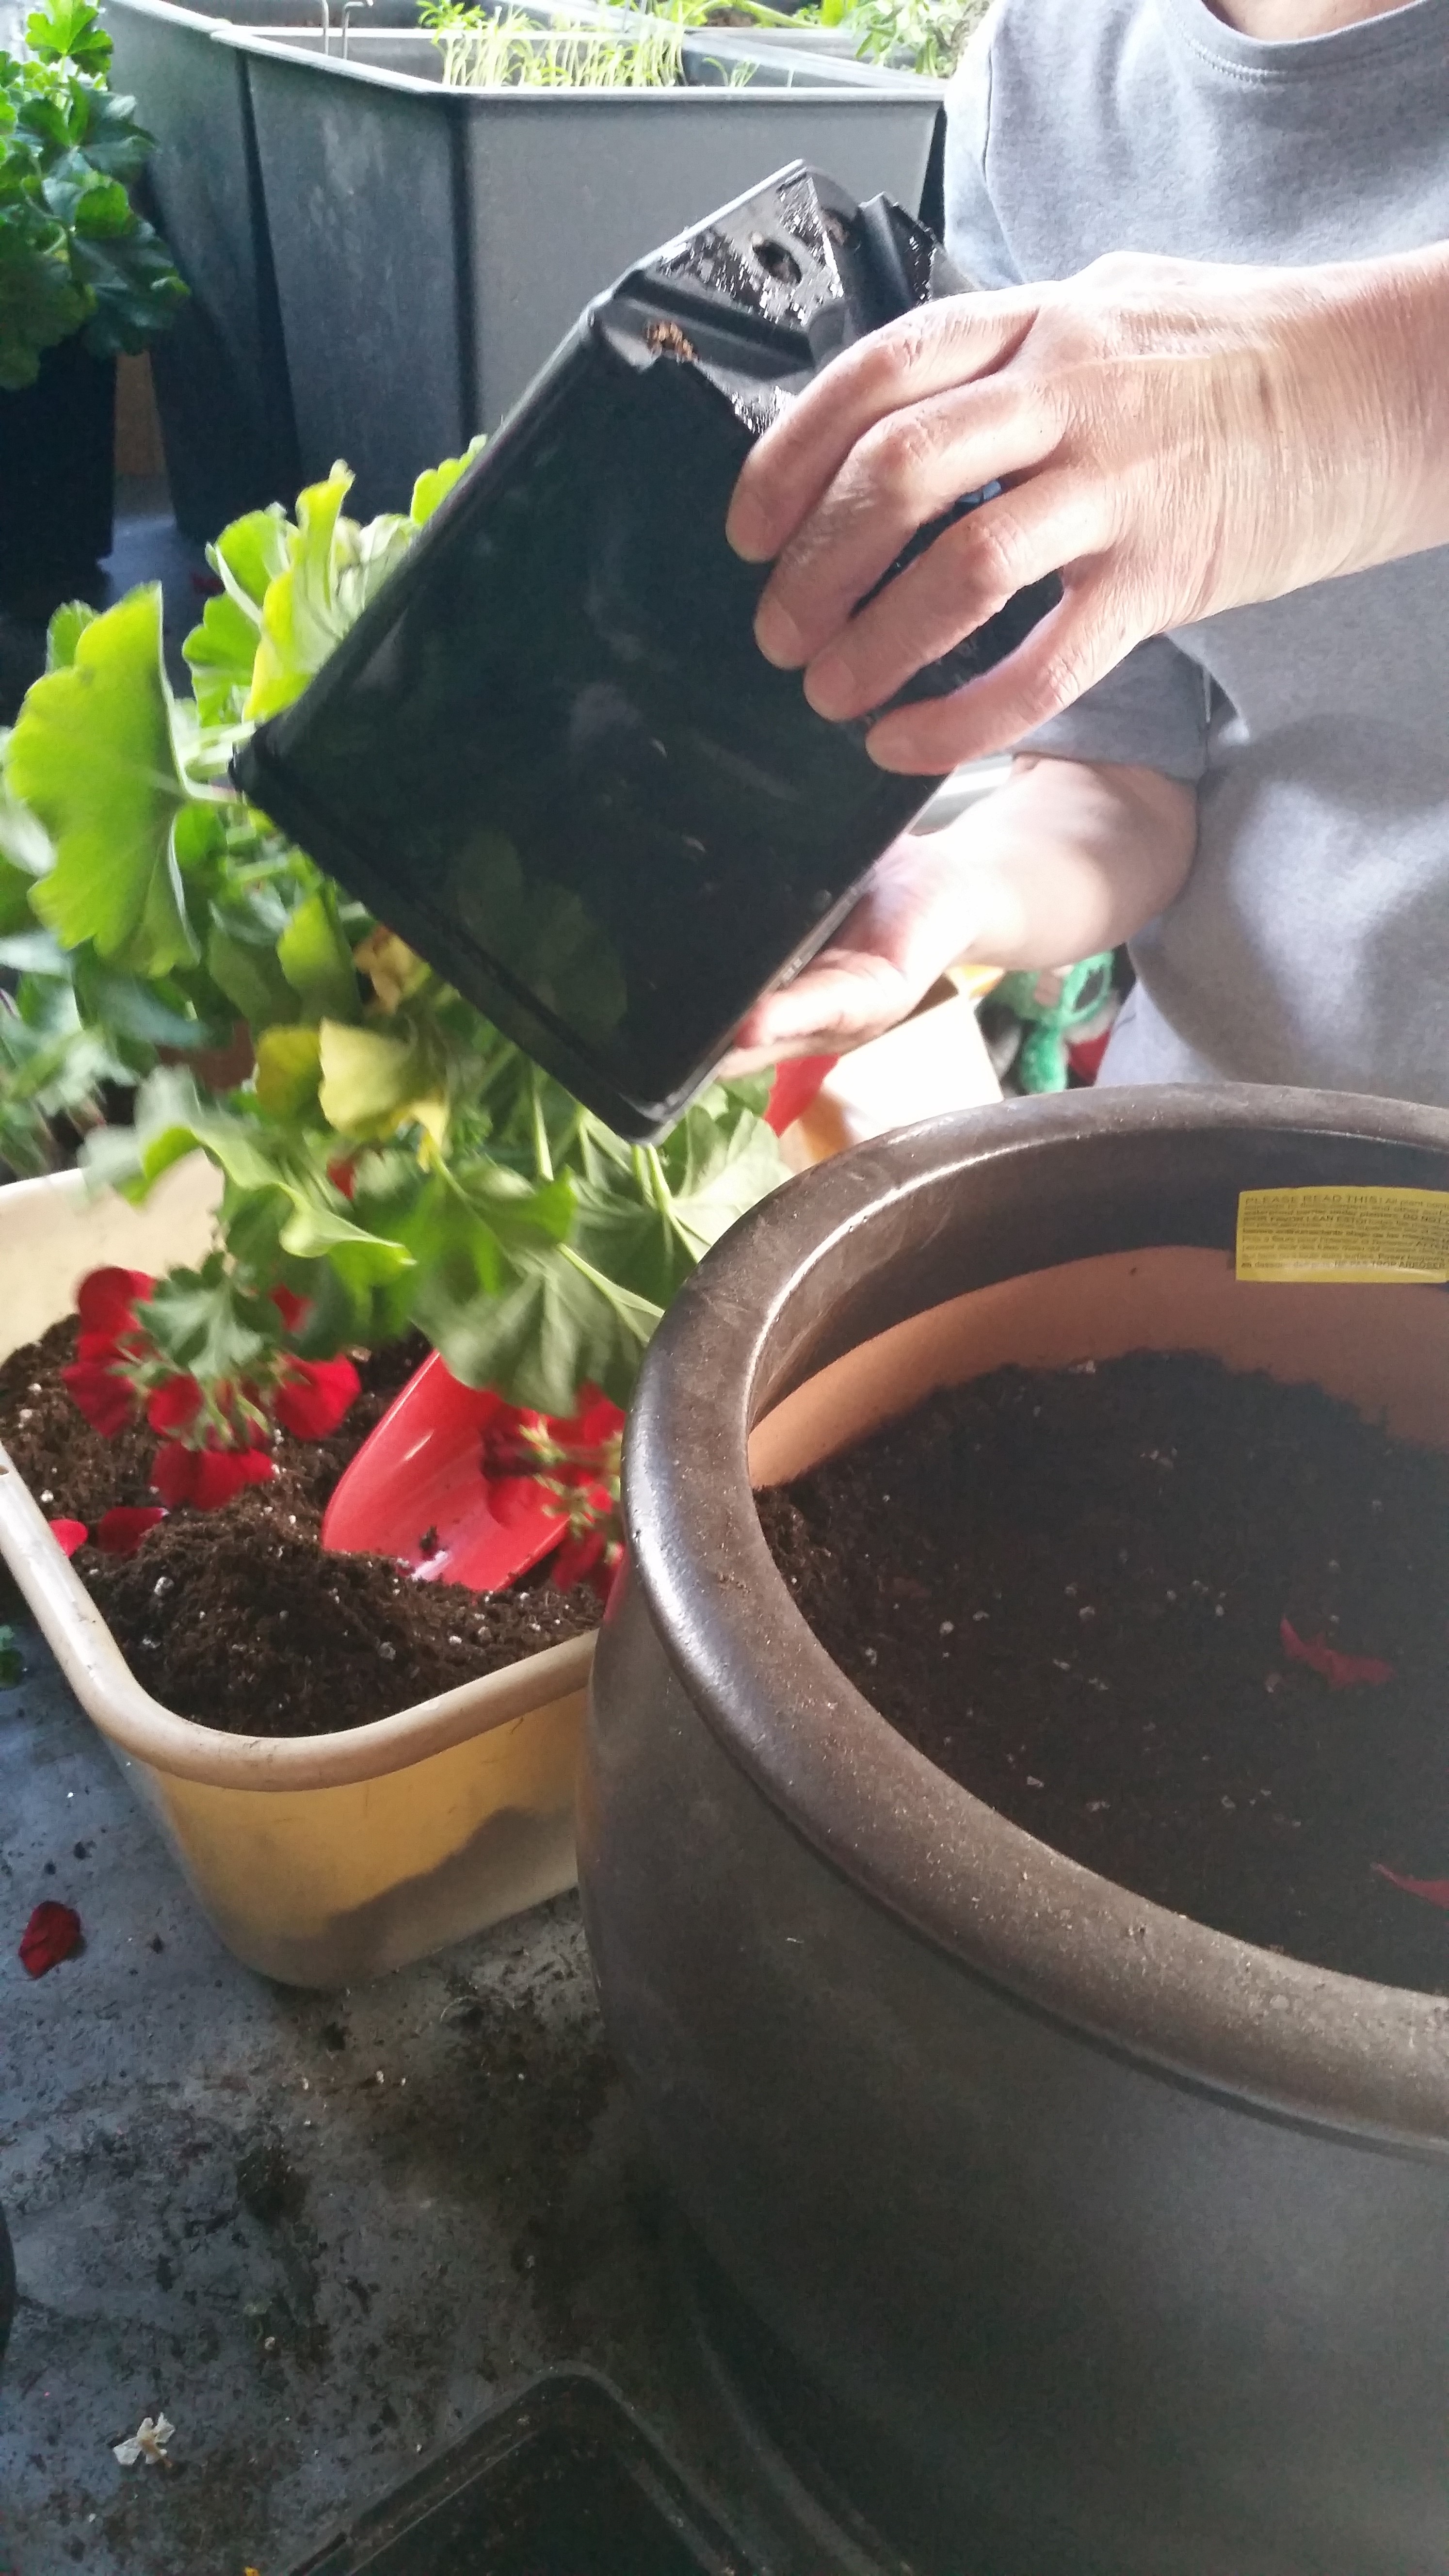
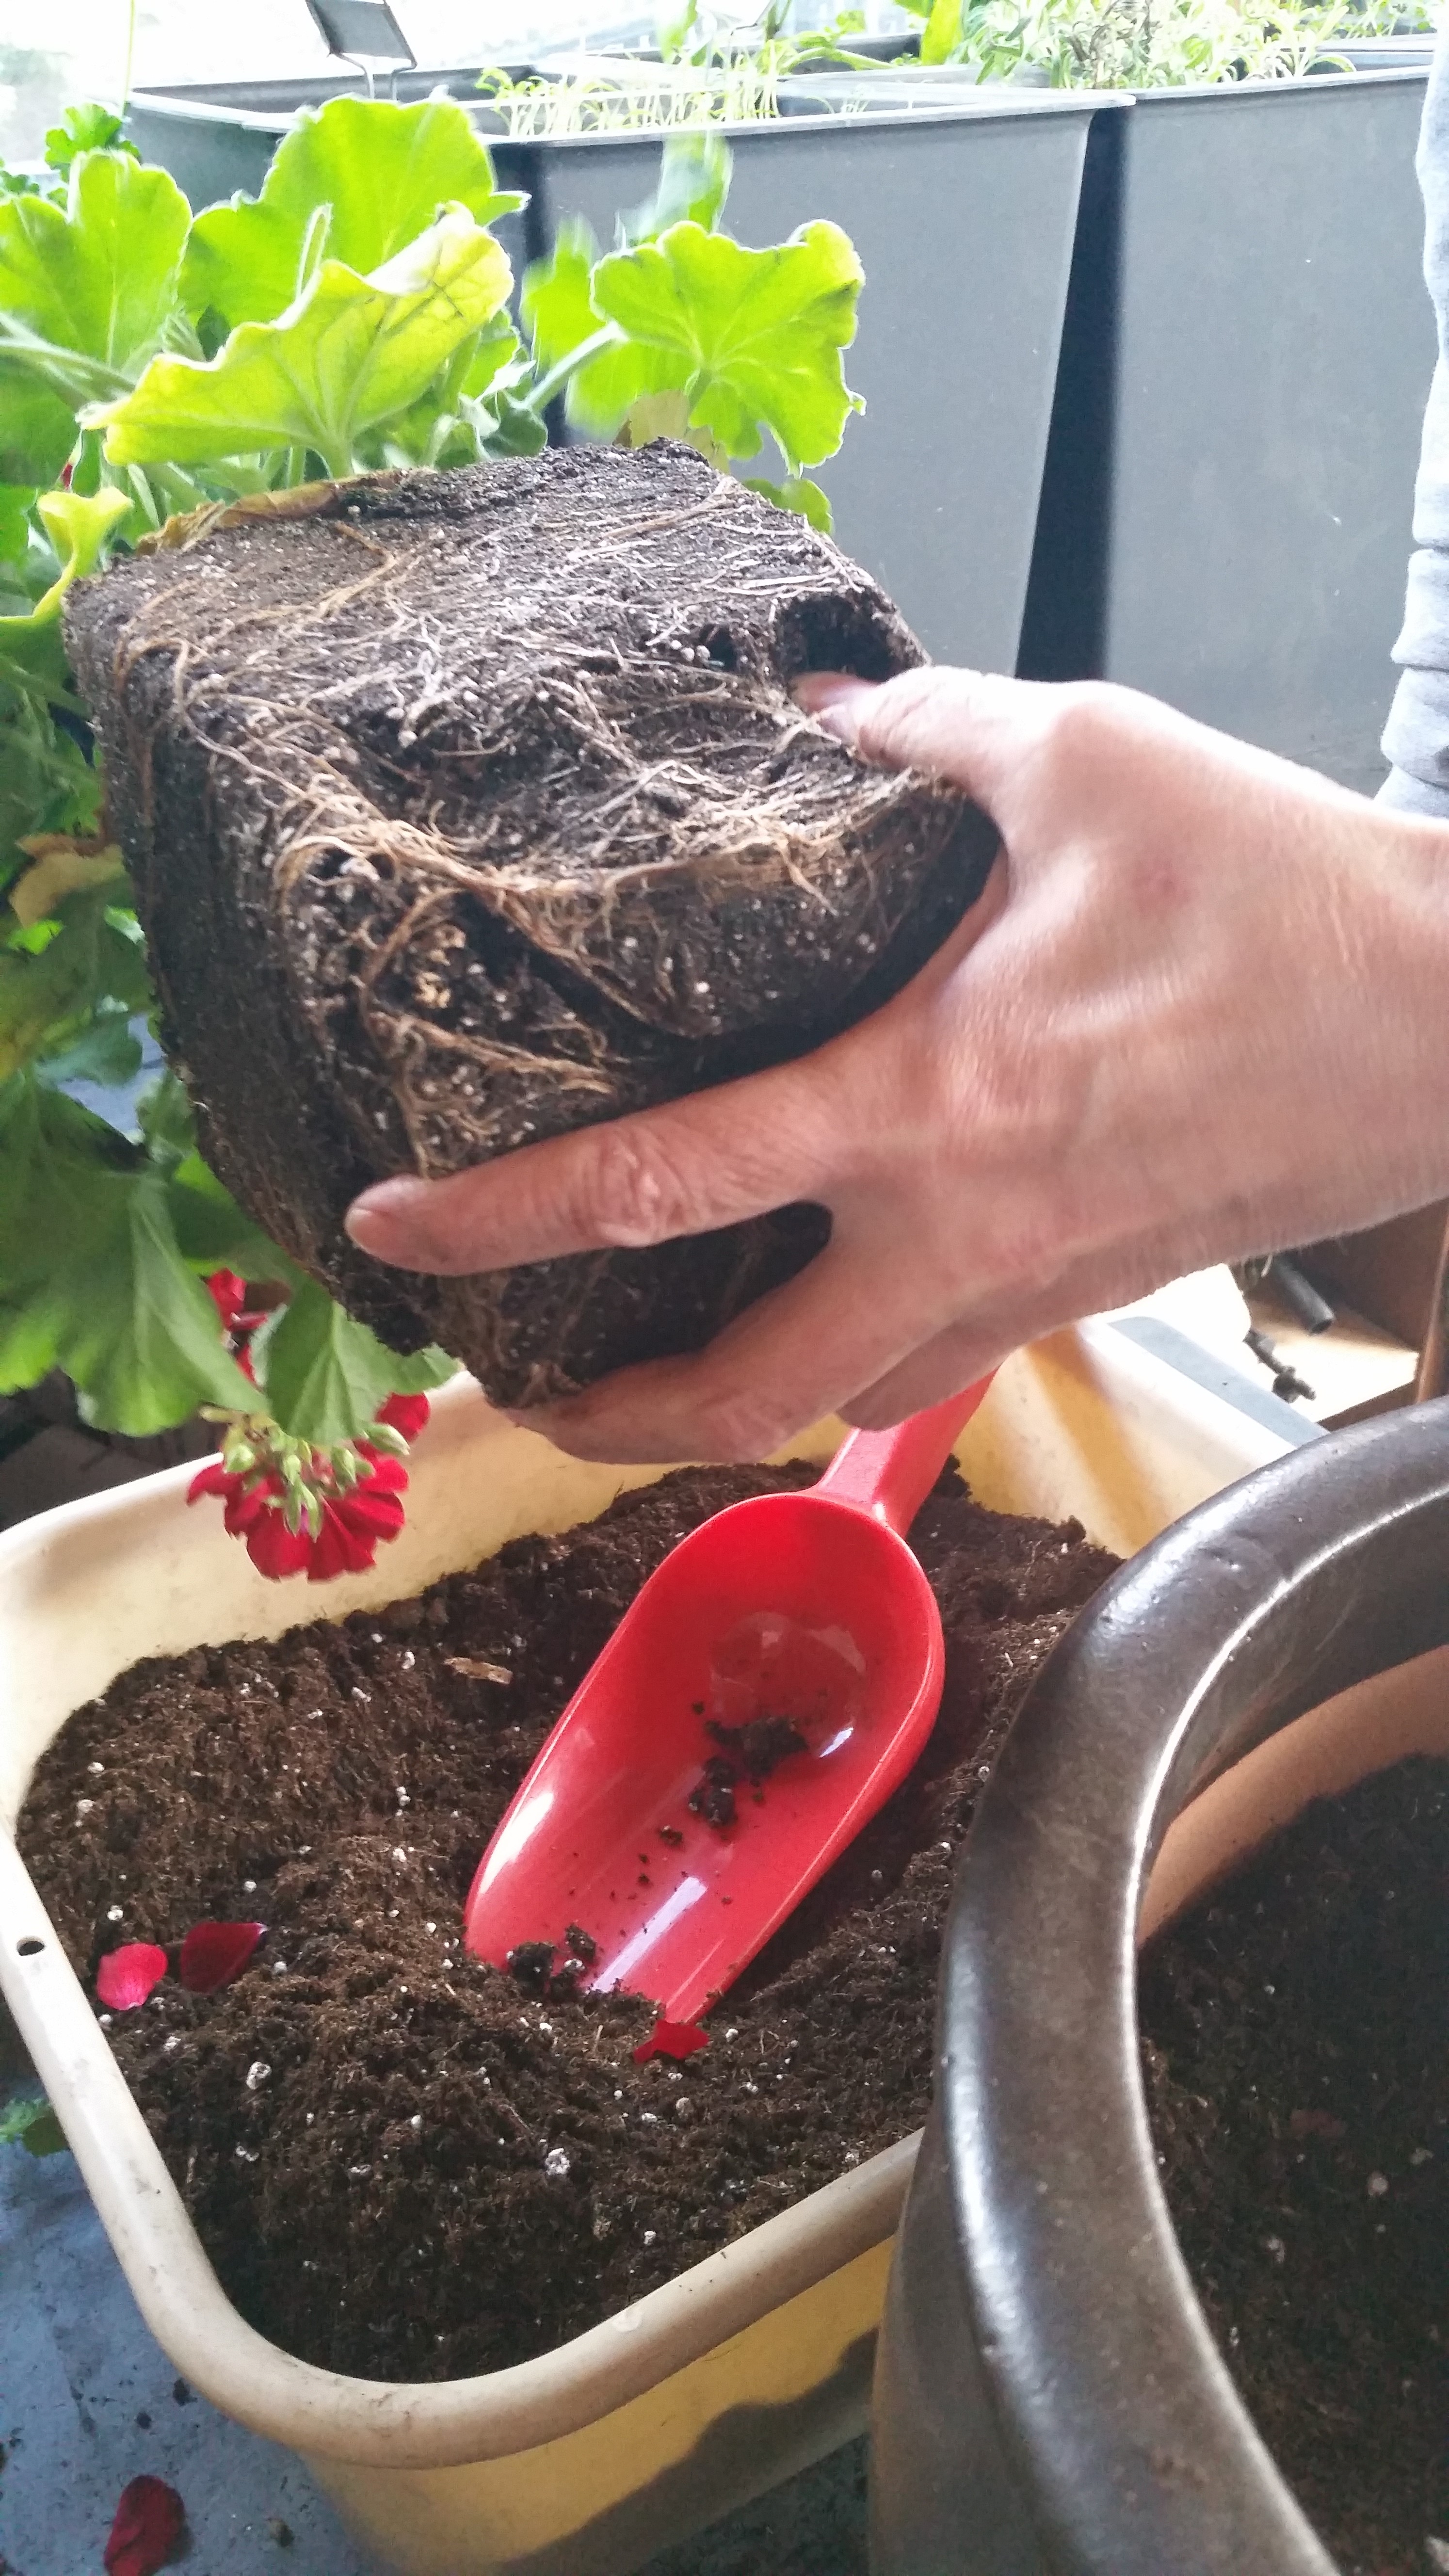
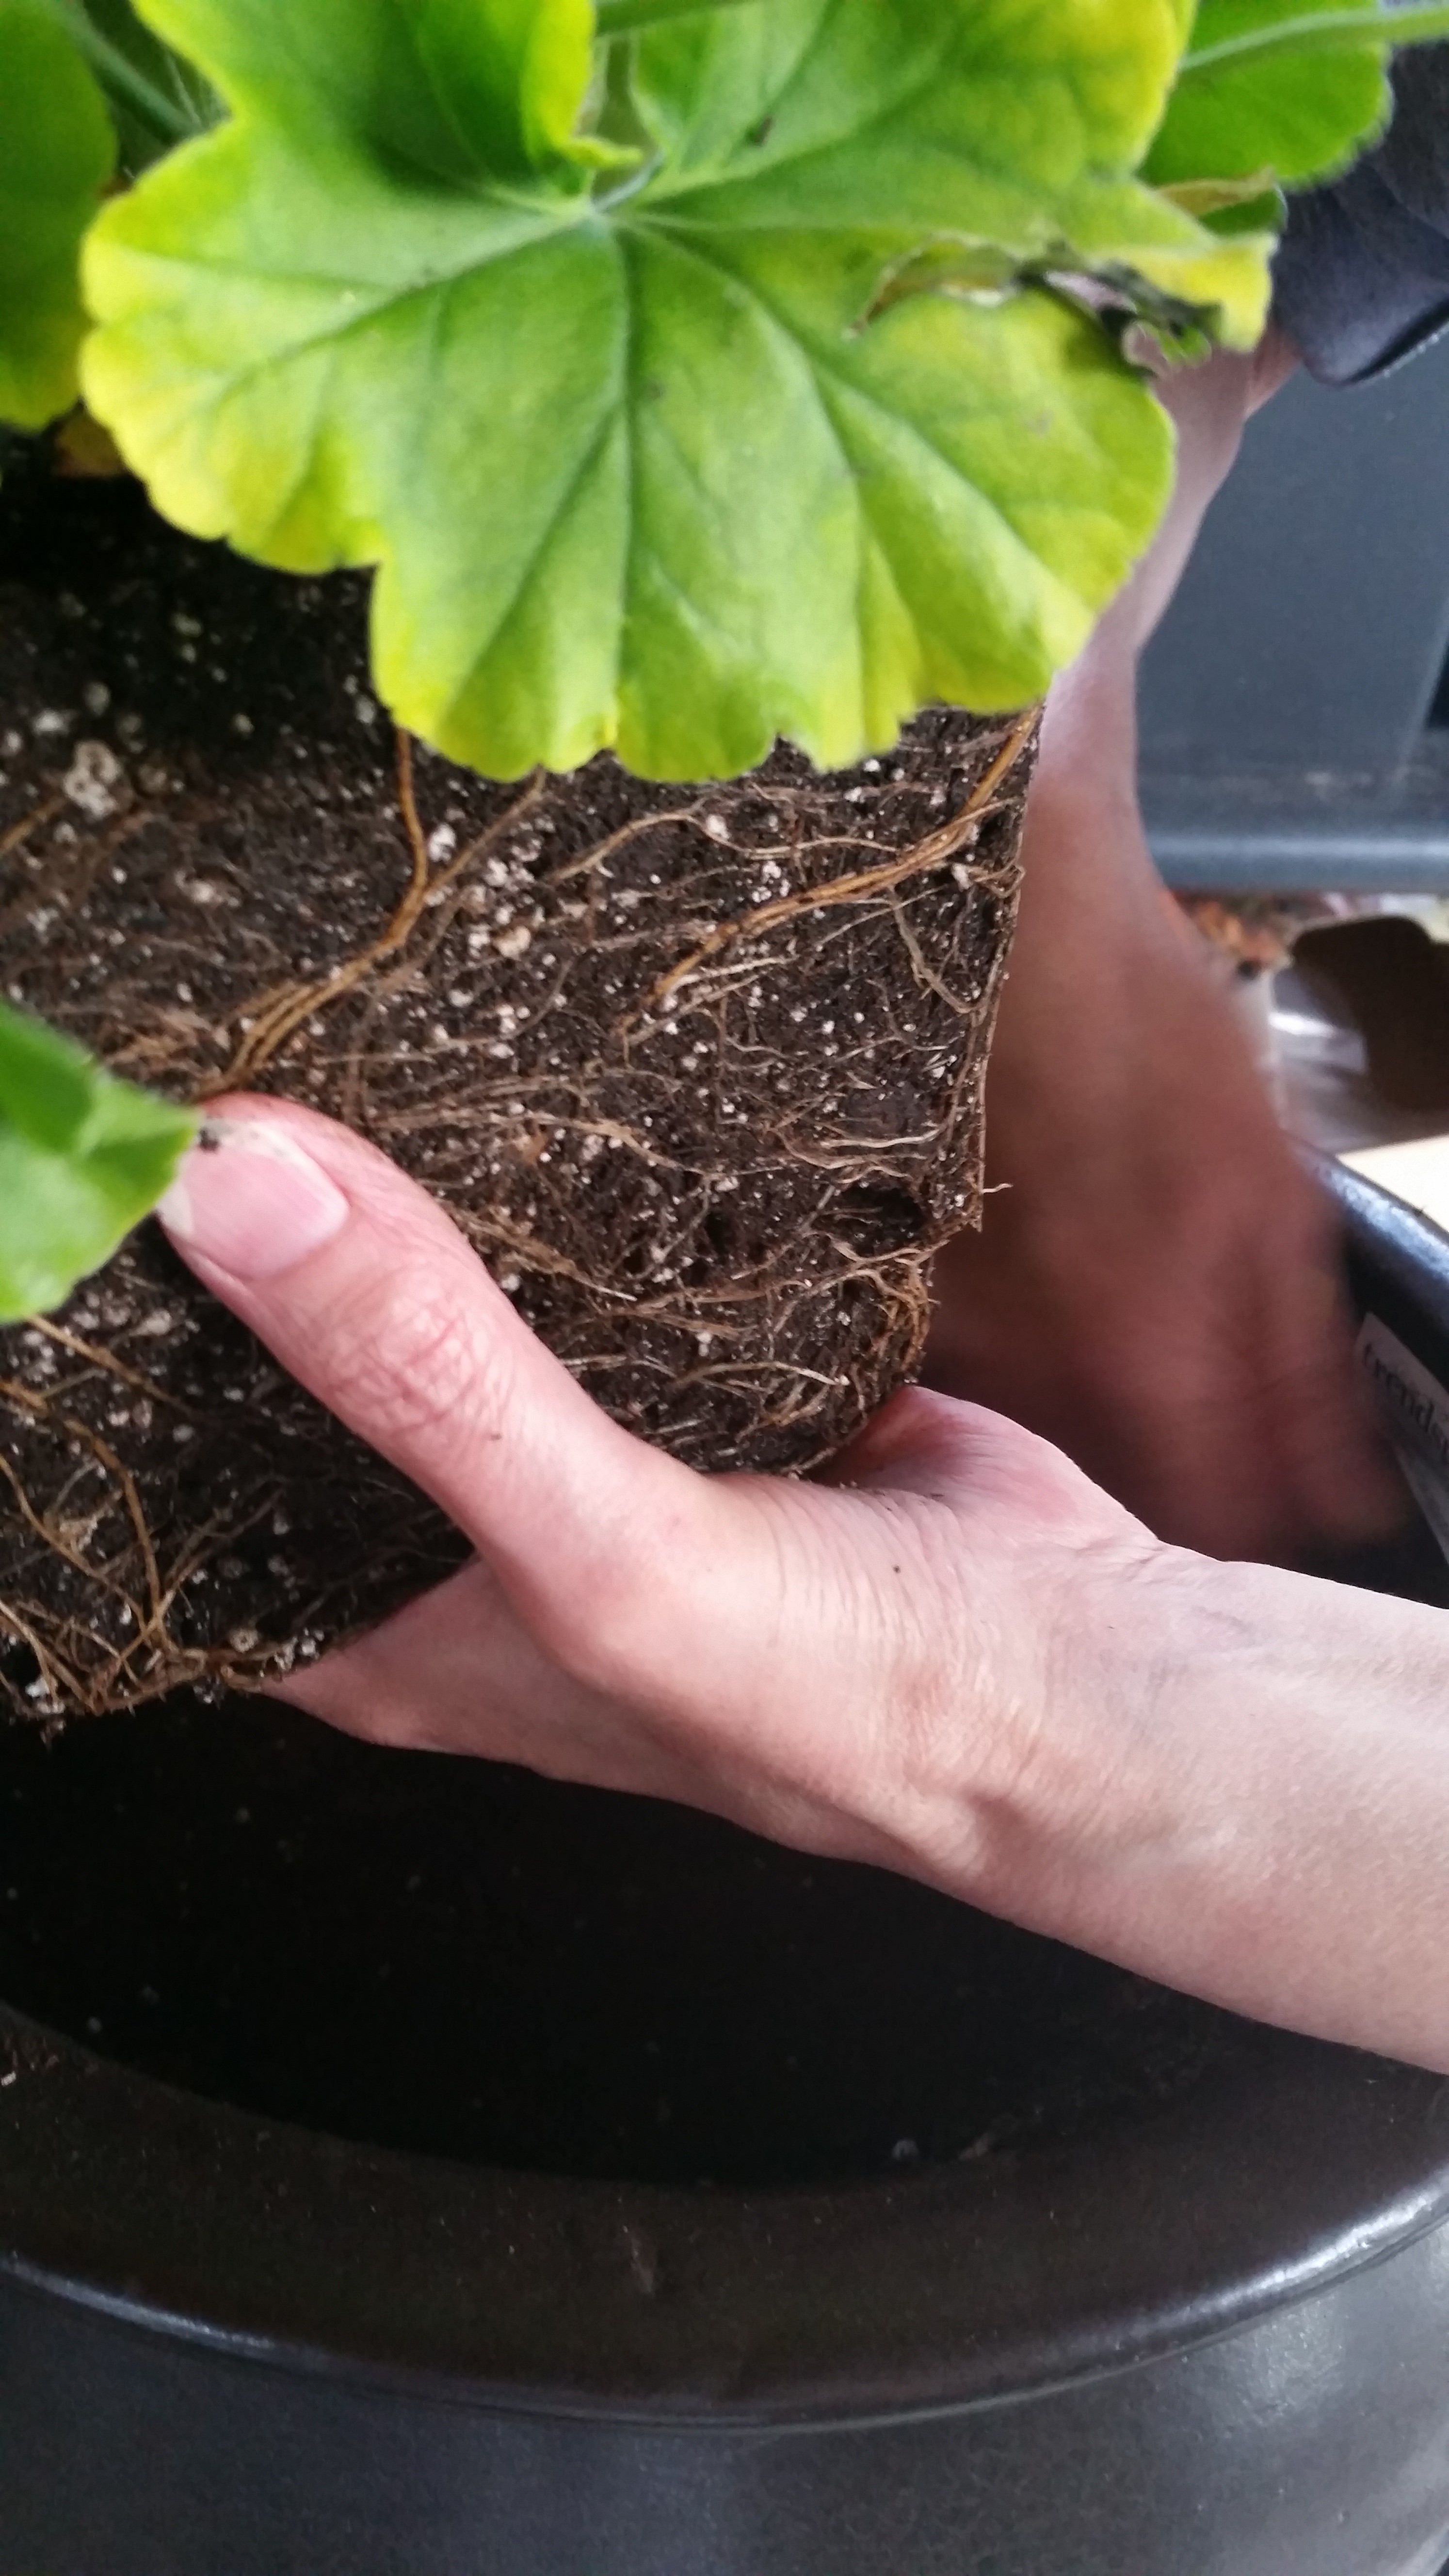
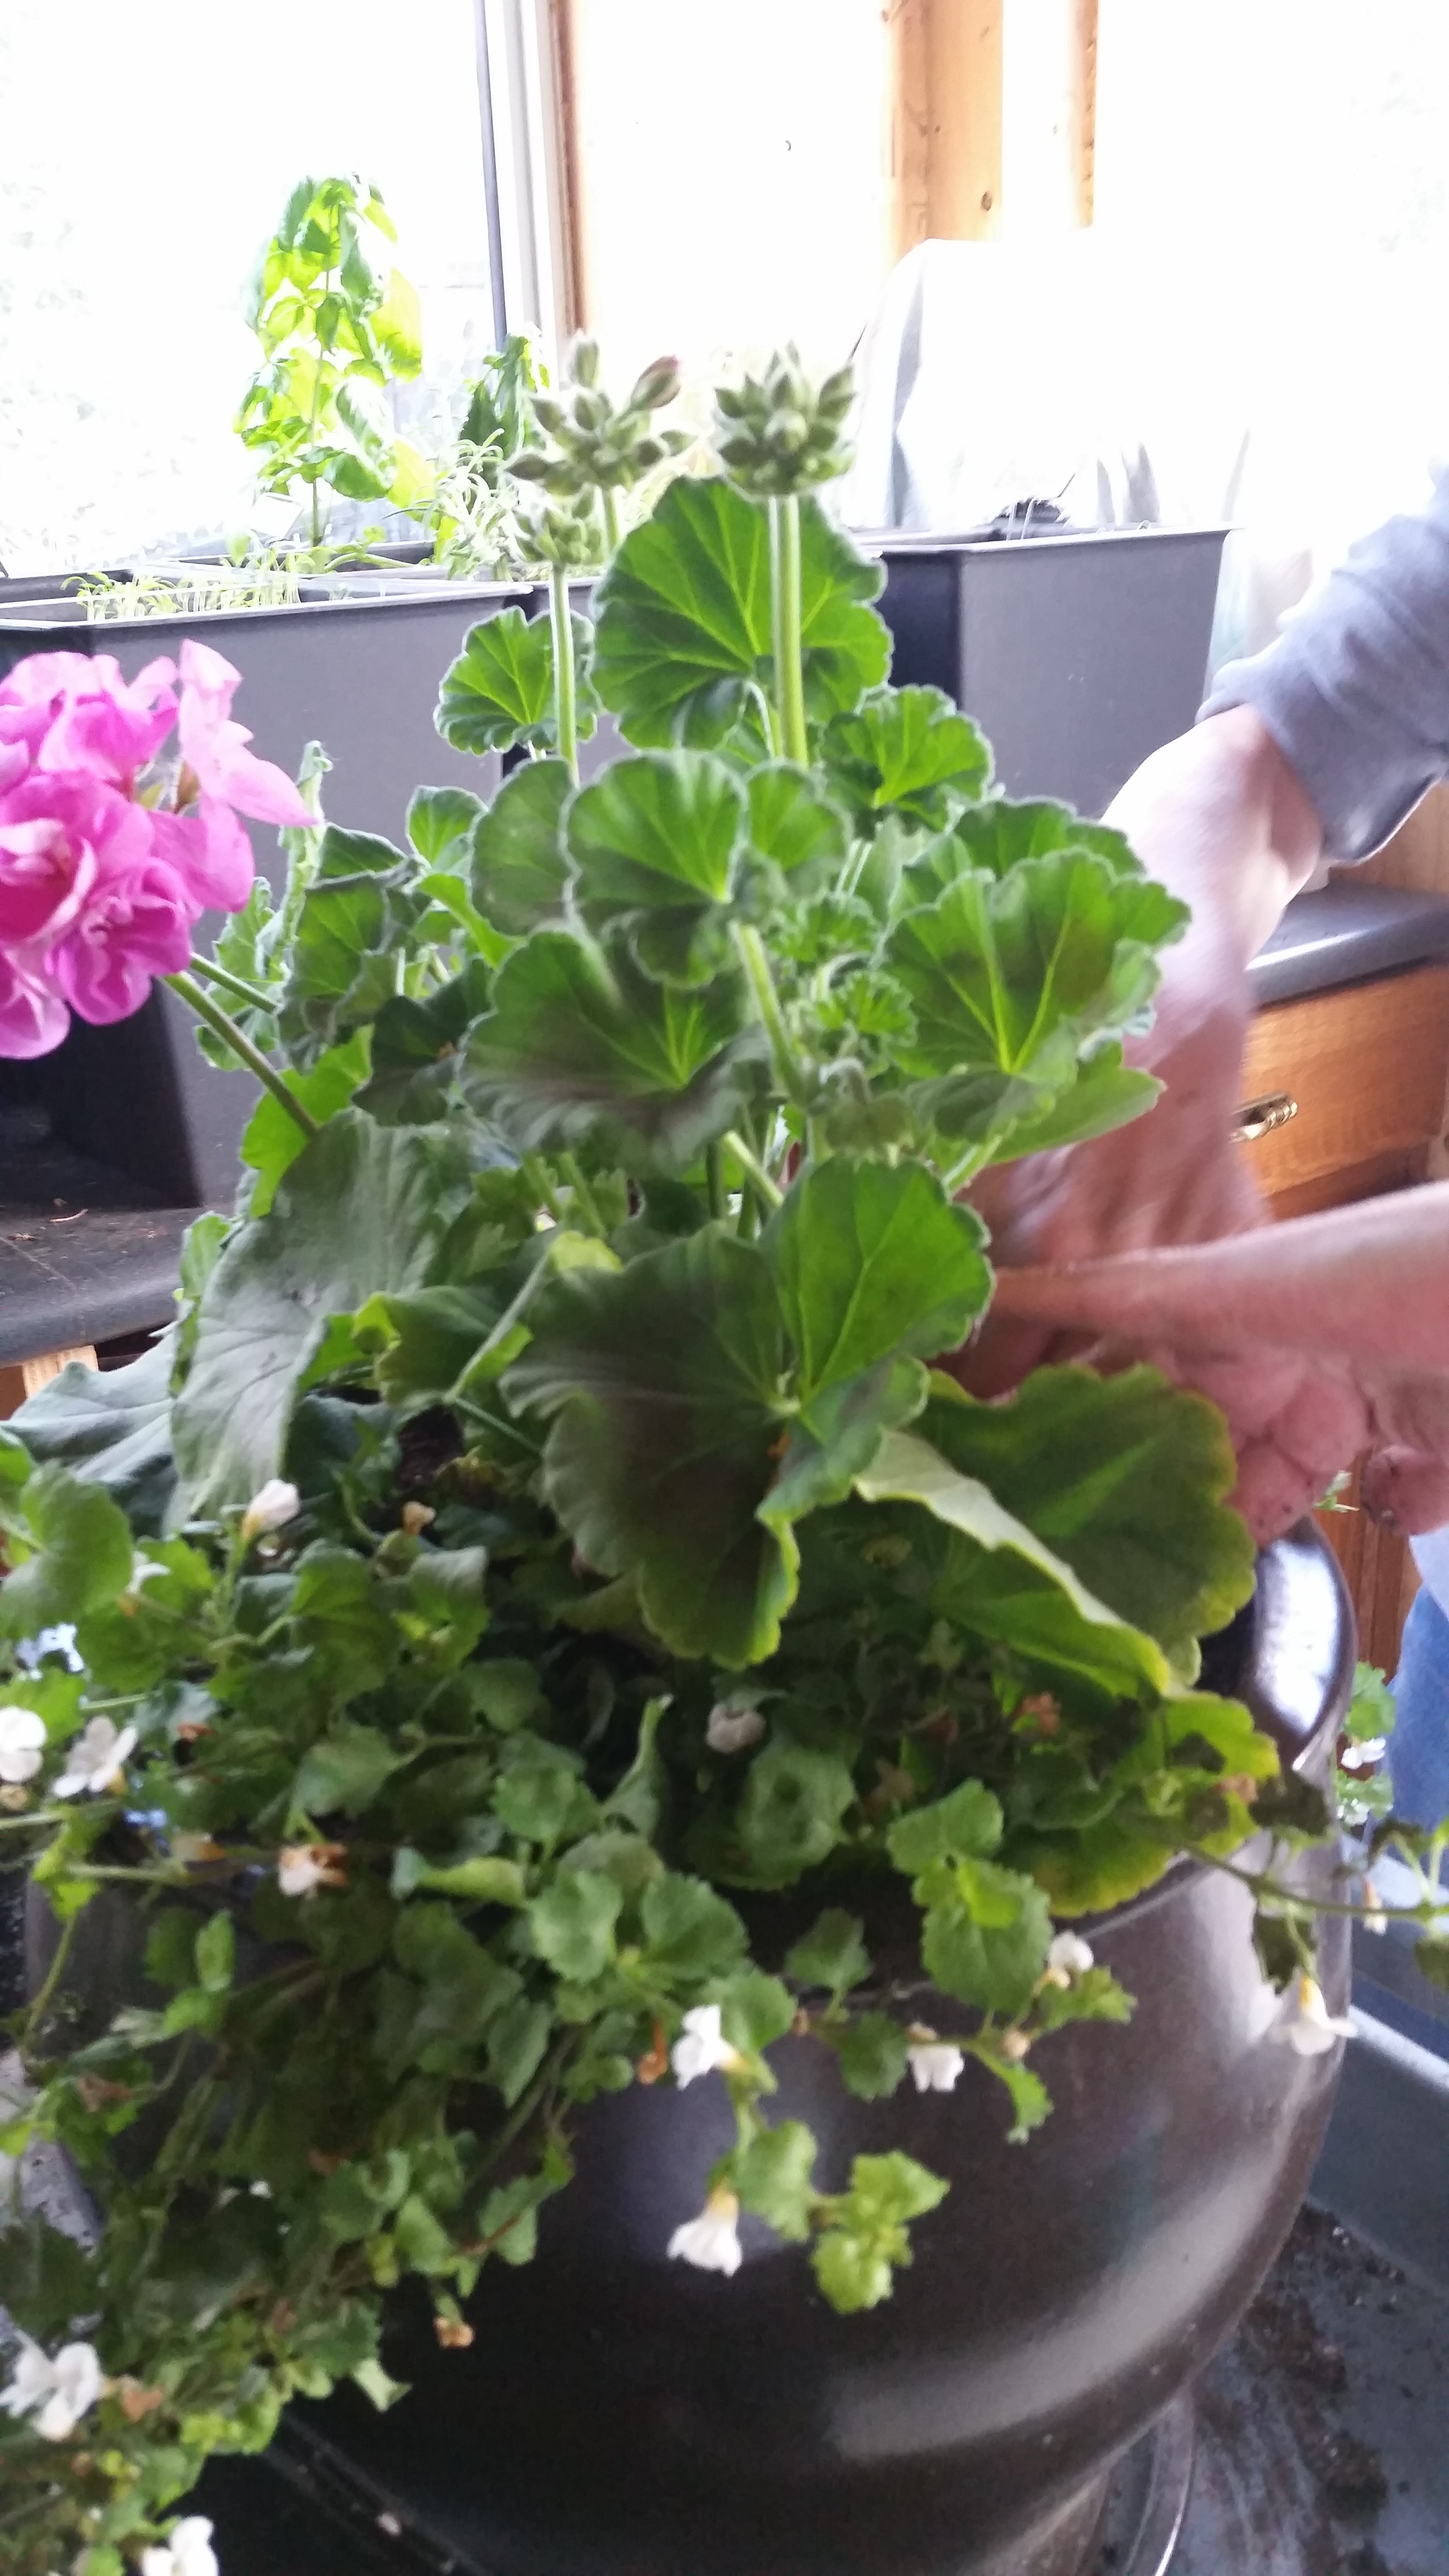
As you’re filling that pot up with soil, keep in mind what you’d like to eventually plant in there – leave enough space that you can set the root system of the plant in there and then fill around it with additional dirt. Set your center plant first, then set your other plants around it. The root systems of these plants actually like being lightly broken up, as the pots they’re in often have them root bound waiting for sale. Once you’ve placed your plants (don’t worry if they’re not standing up straight), you can start filling in the dirt around them to stabilize them in place!
You will continue filling up your pots with dirt until everything is stable, and all of the root systems are fully covered. Lightly press down the soil around your plants to make sure they aren’t going to settle the first time you water them. Watering them lightly to welcome them into their new home is coincidentally the last step!
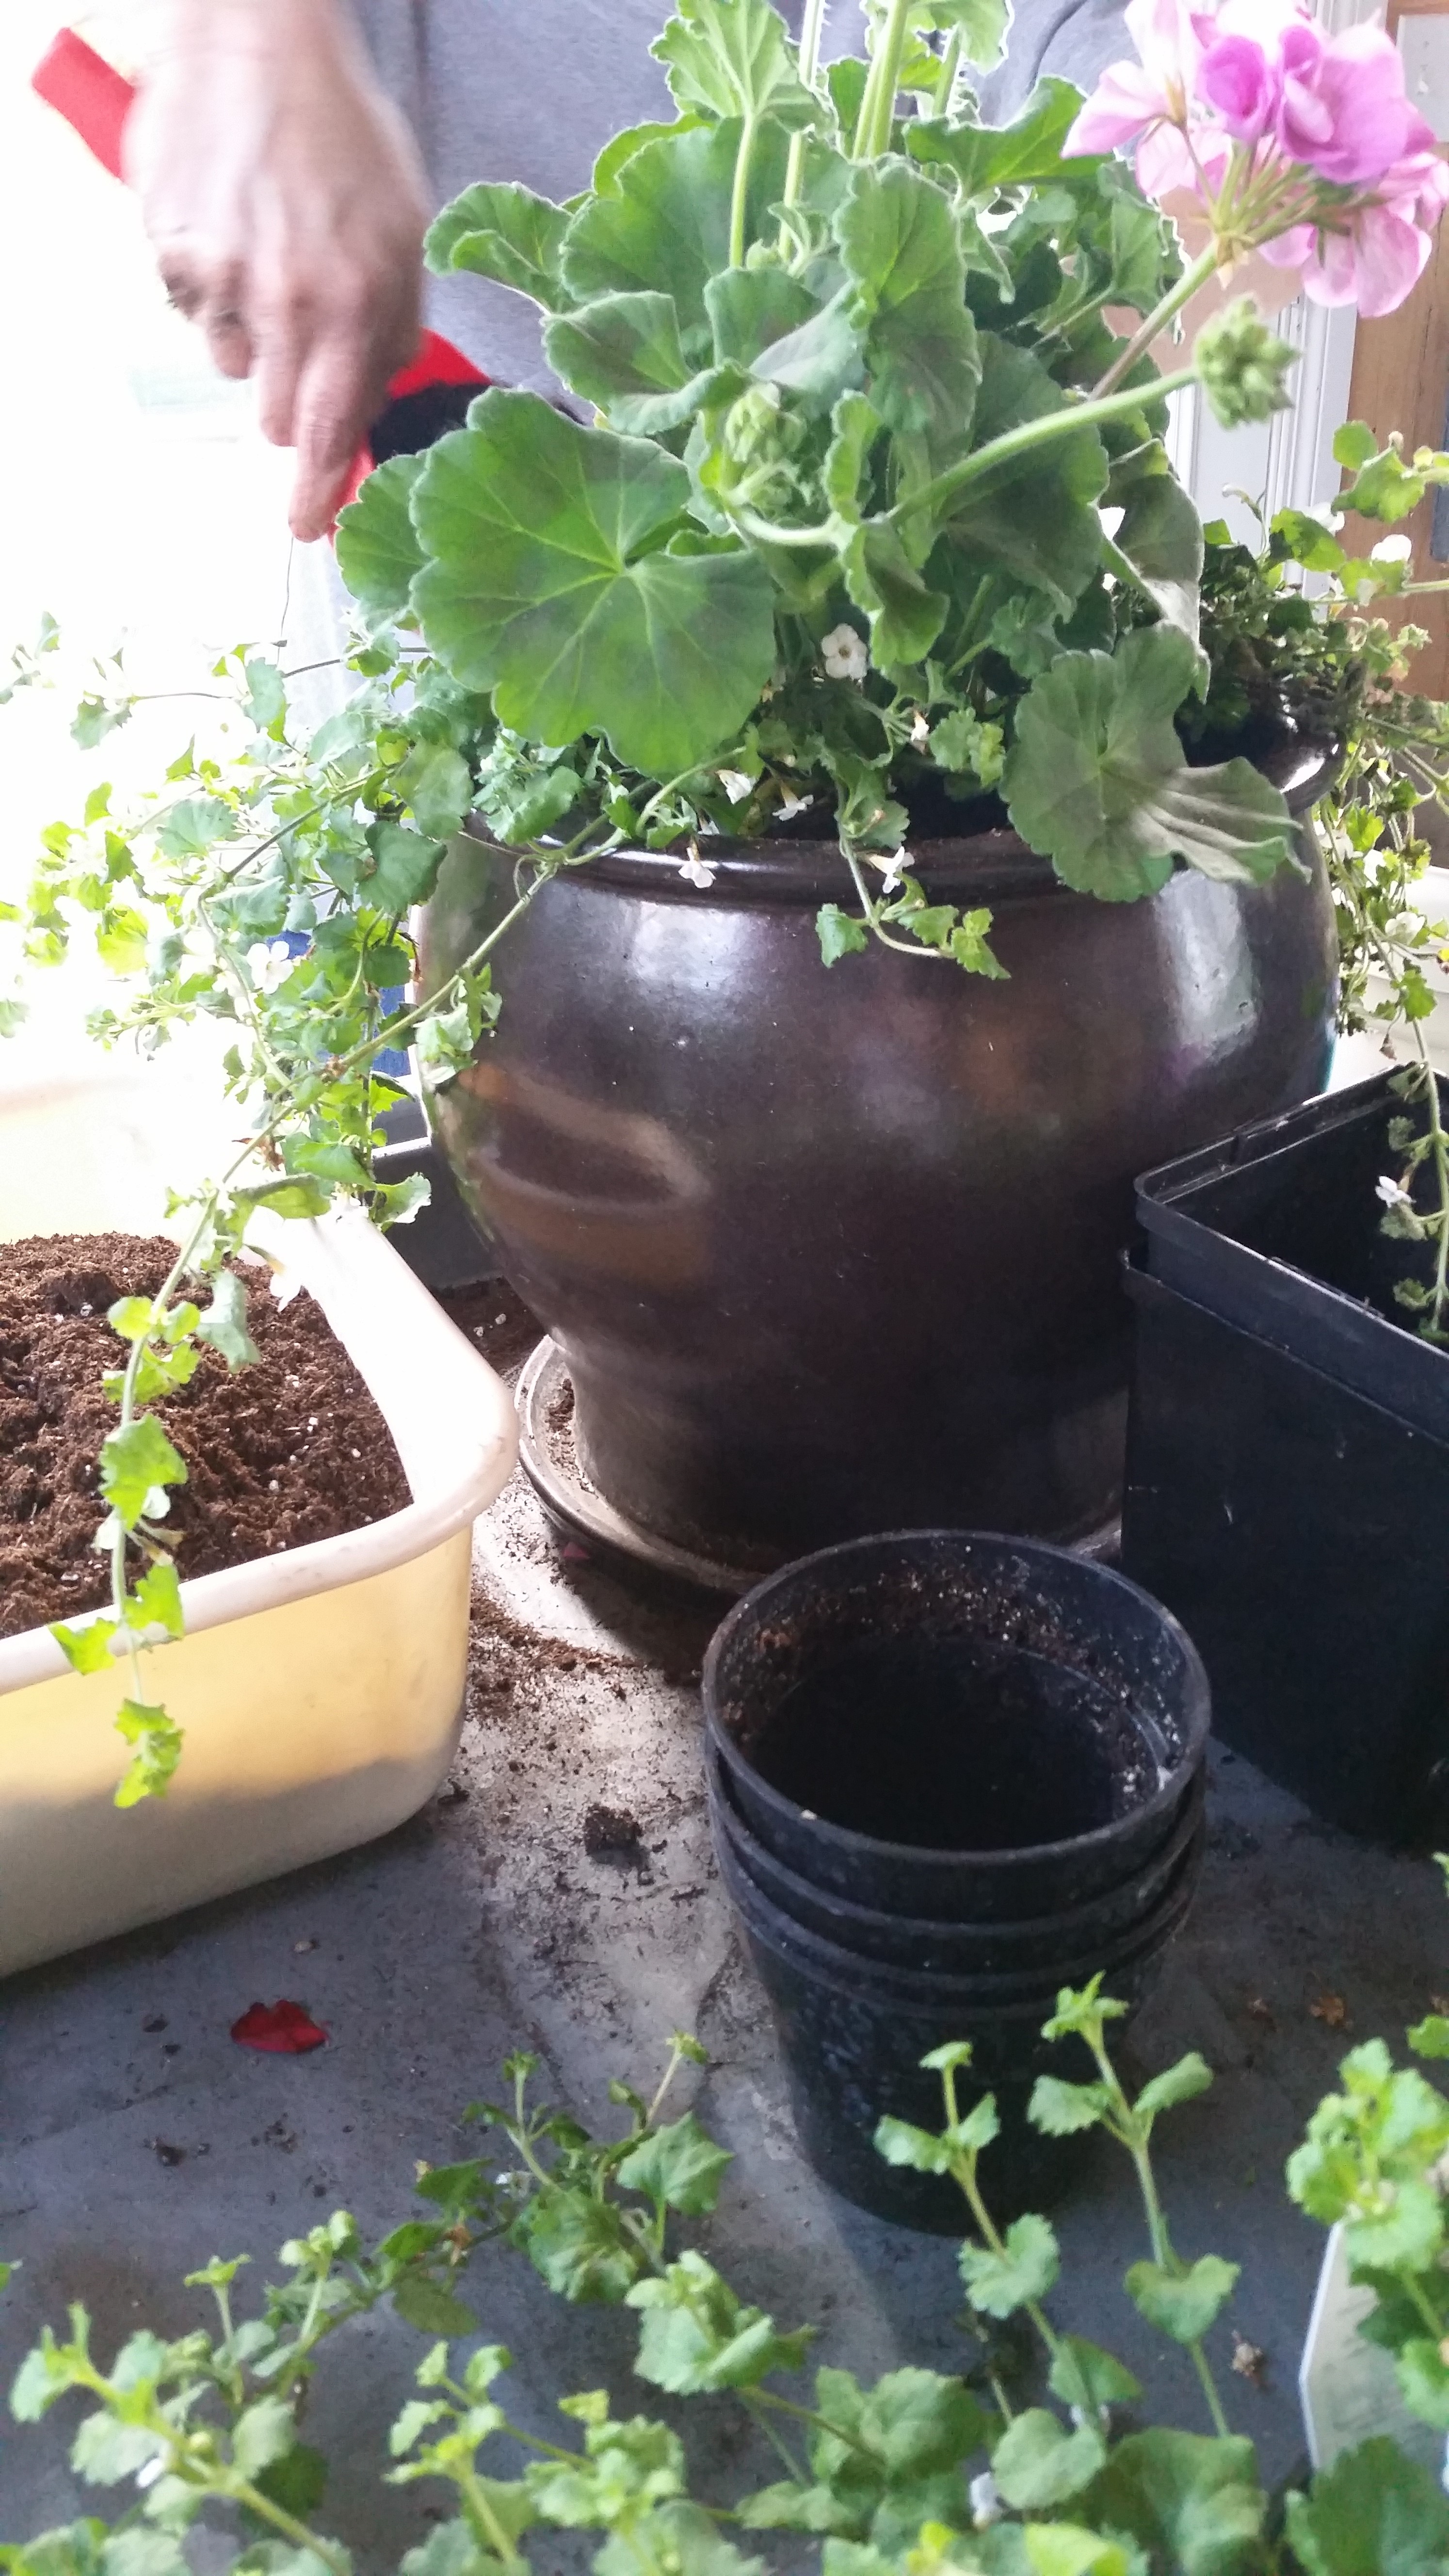
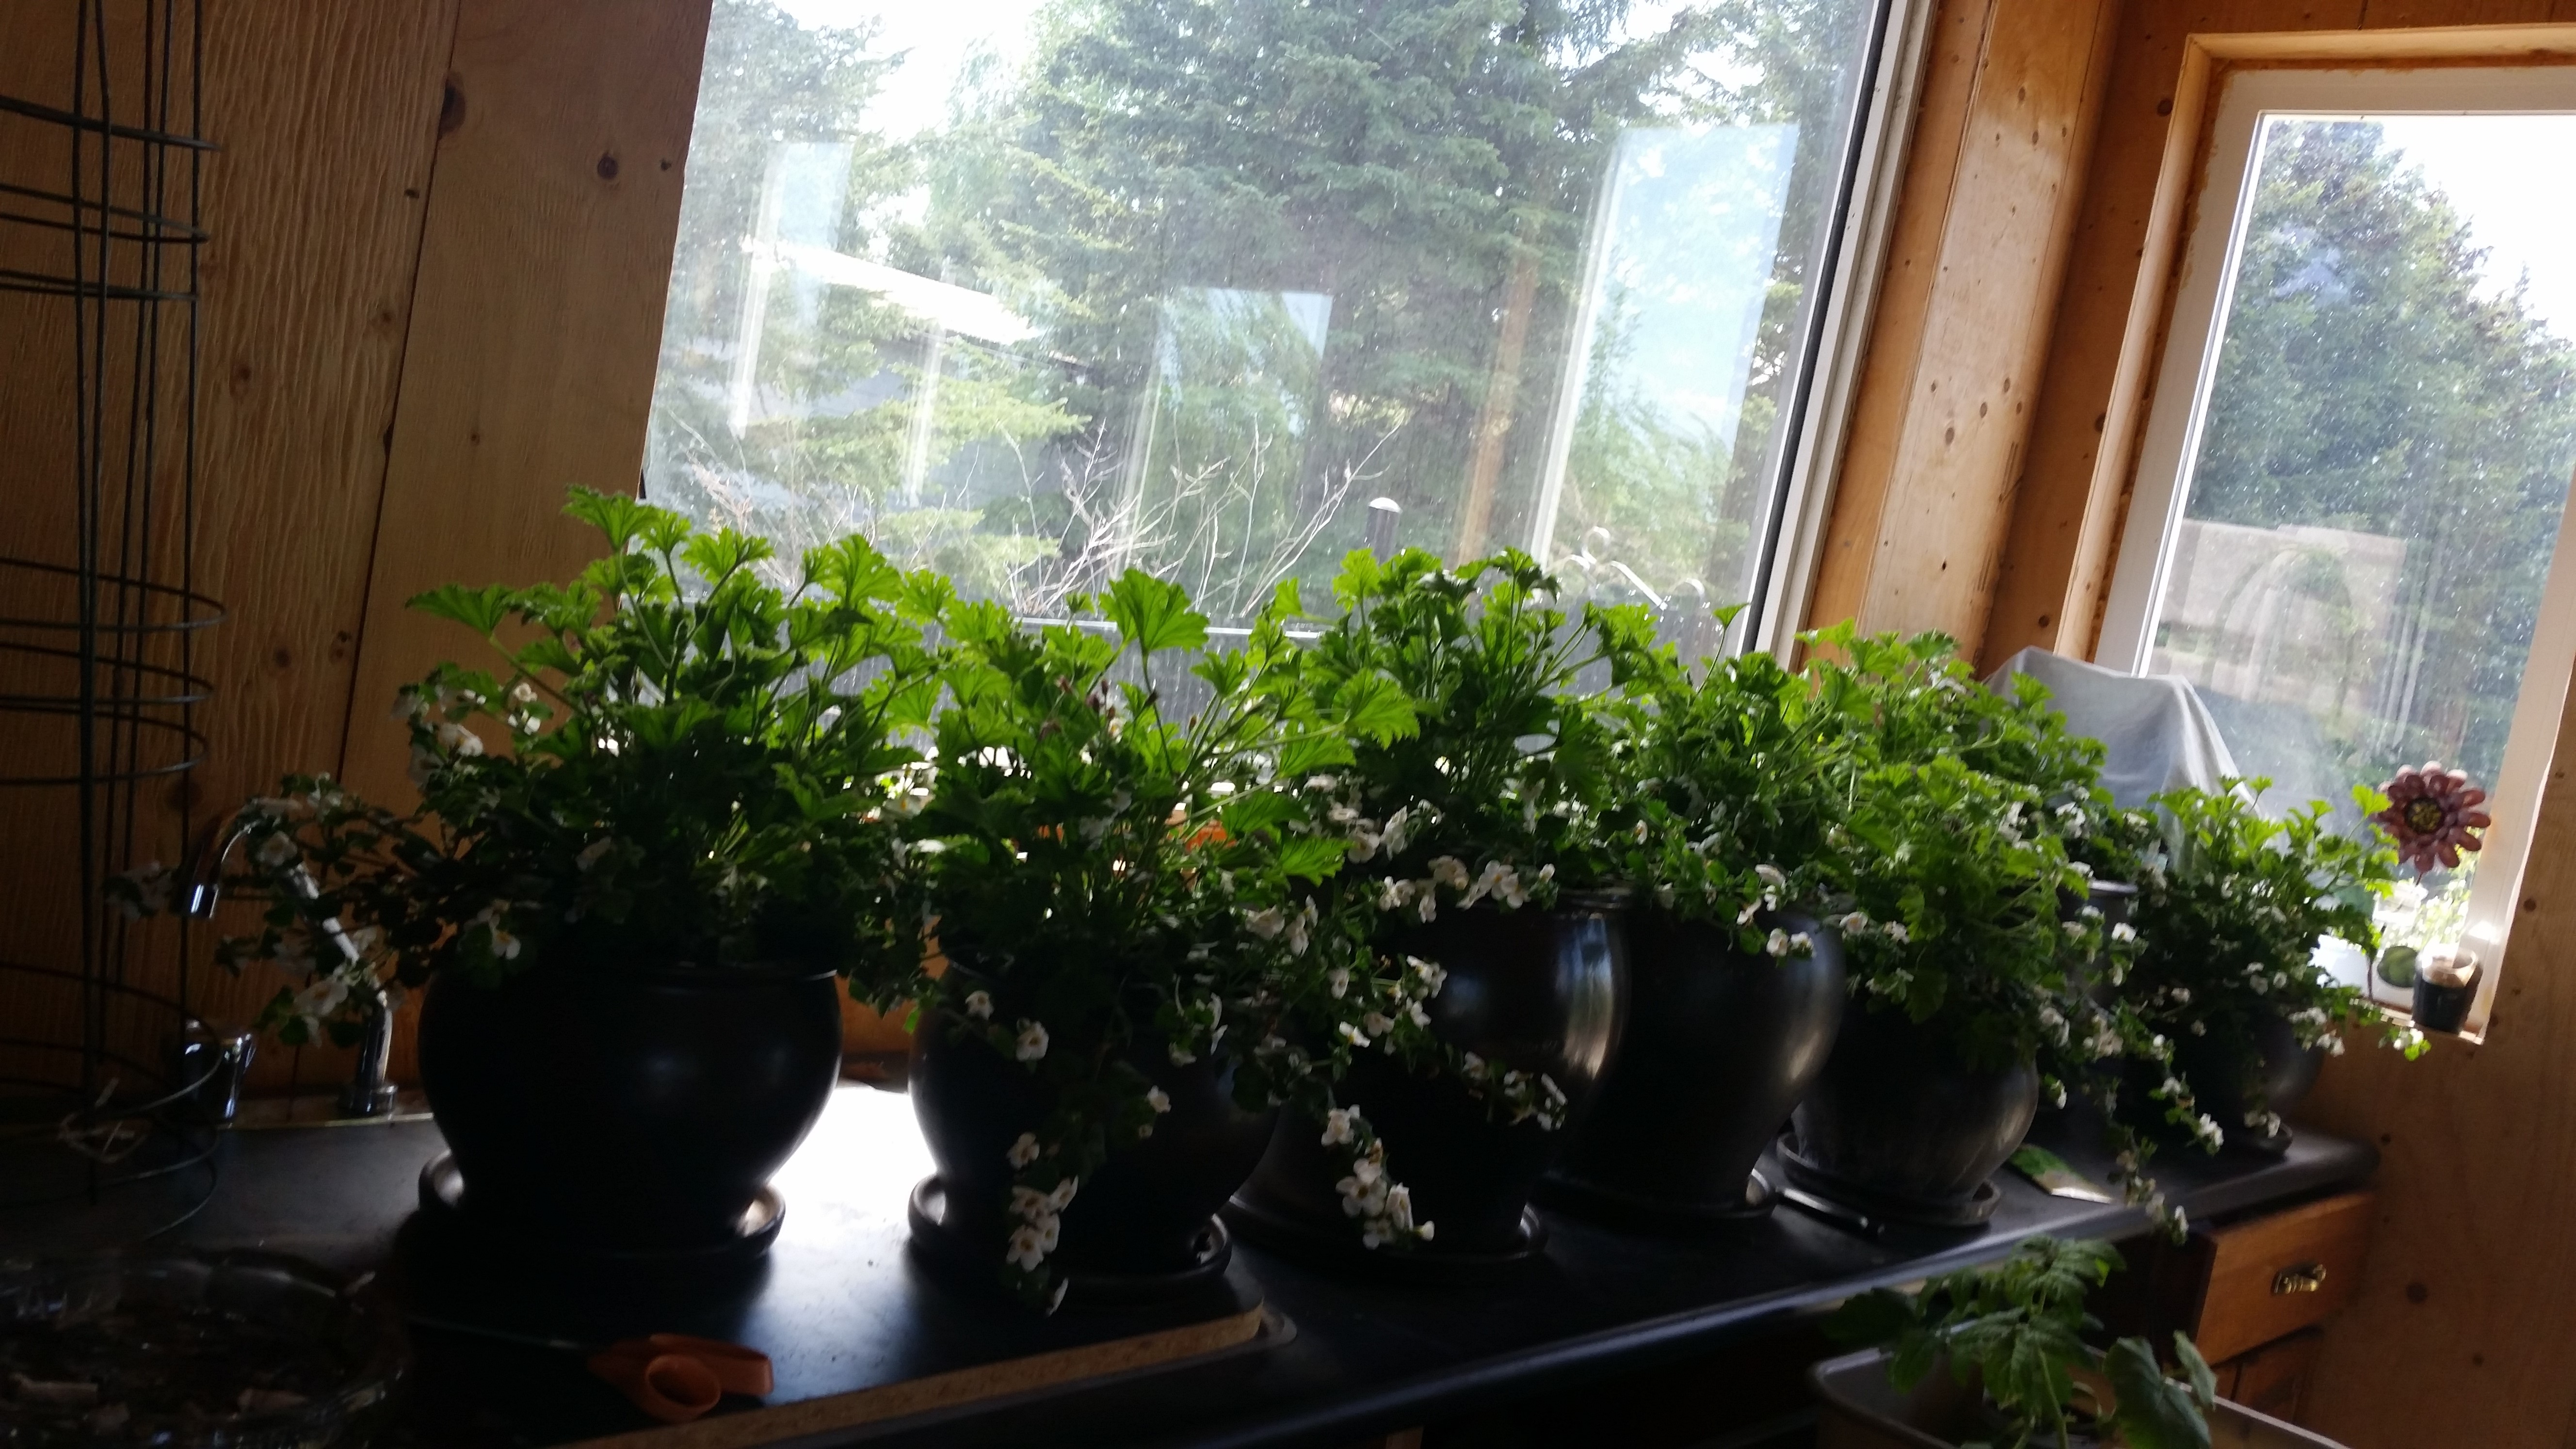
I know that making your own planters and pots can seem intimidating, but as you can see it’s actually pretty easy for those inclined to get a bit dirty and save a few bucks! Once you’ve purchased your pots, the cost will be significantly less year over year compared to purchasing pre-made options.
What is your favorite flower to plant at home?


Comments are closed.